Drawing with Photogrammetry - 2026 Update
This is an update to a photogrammetry drawing process I've had for a few years.
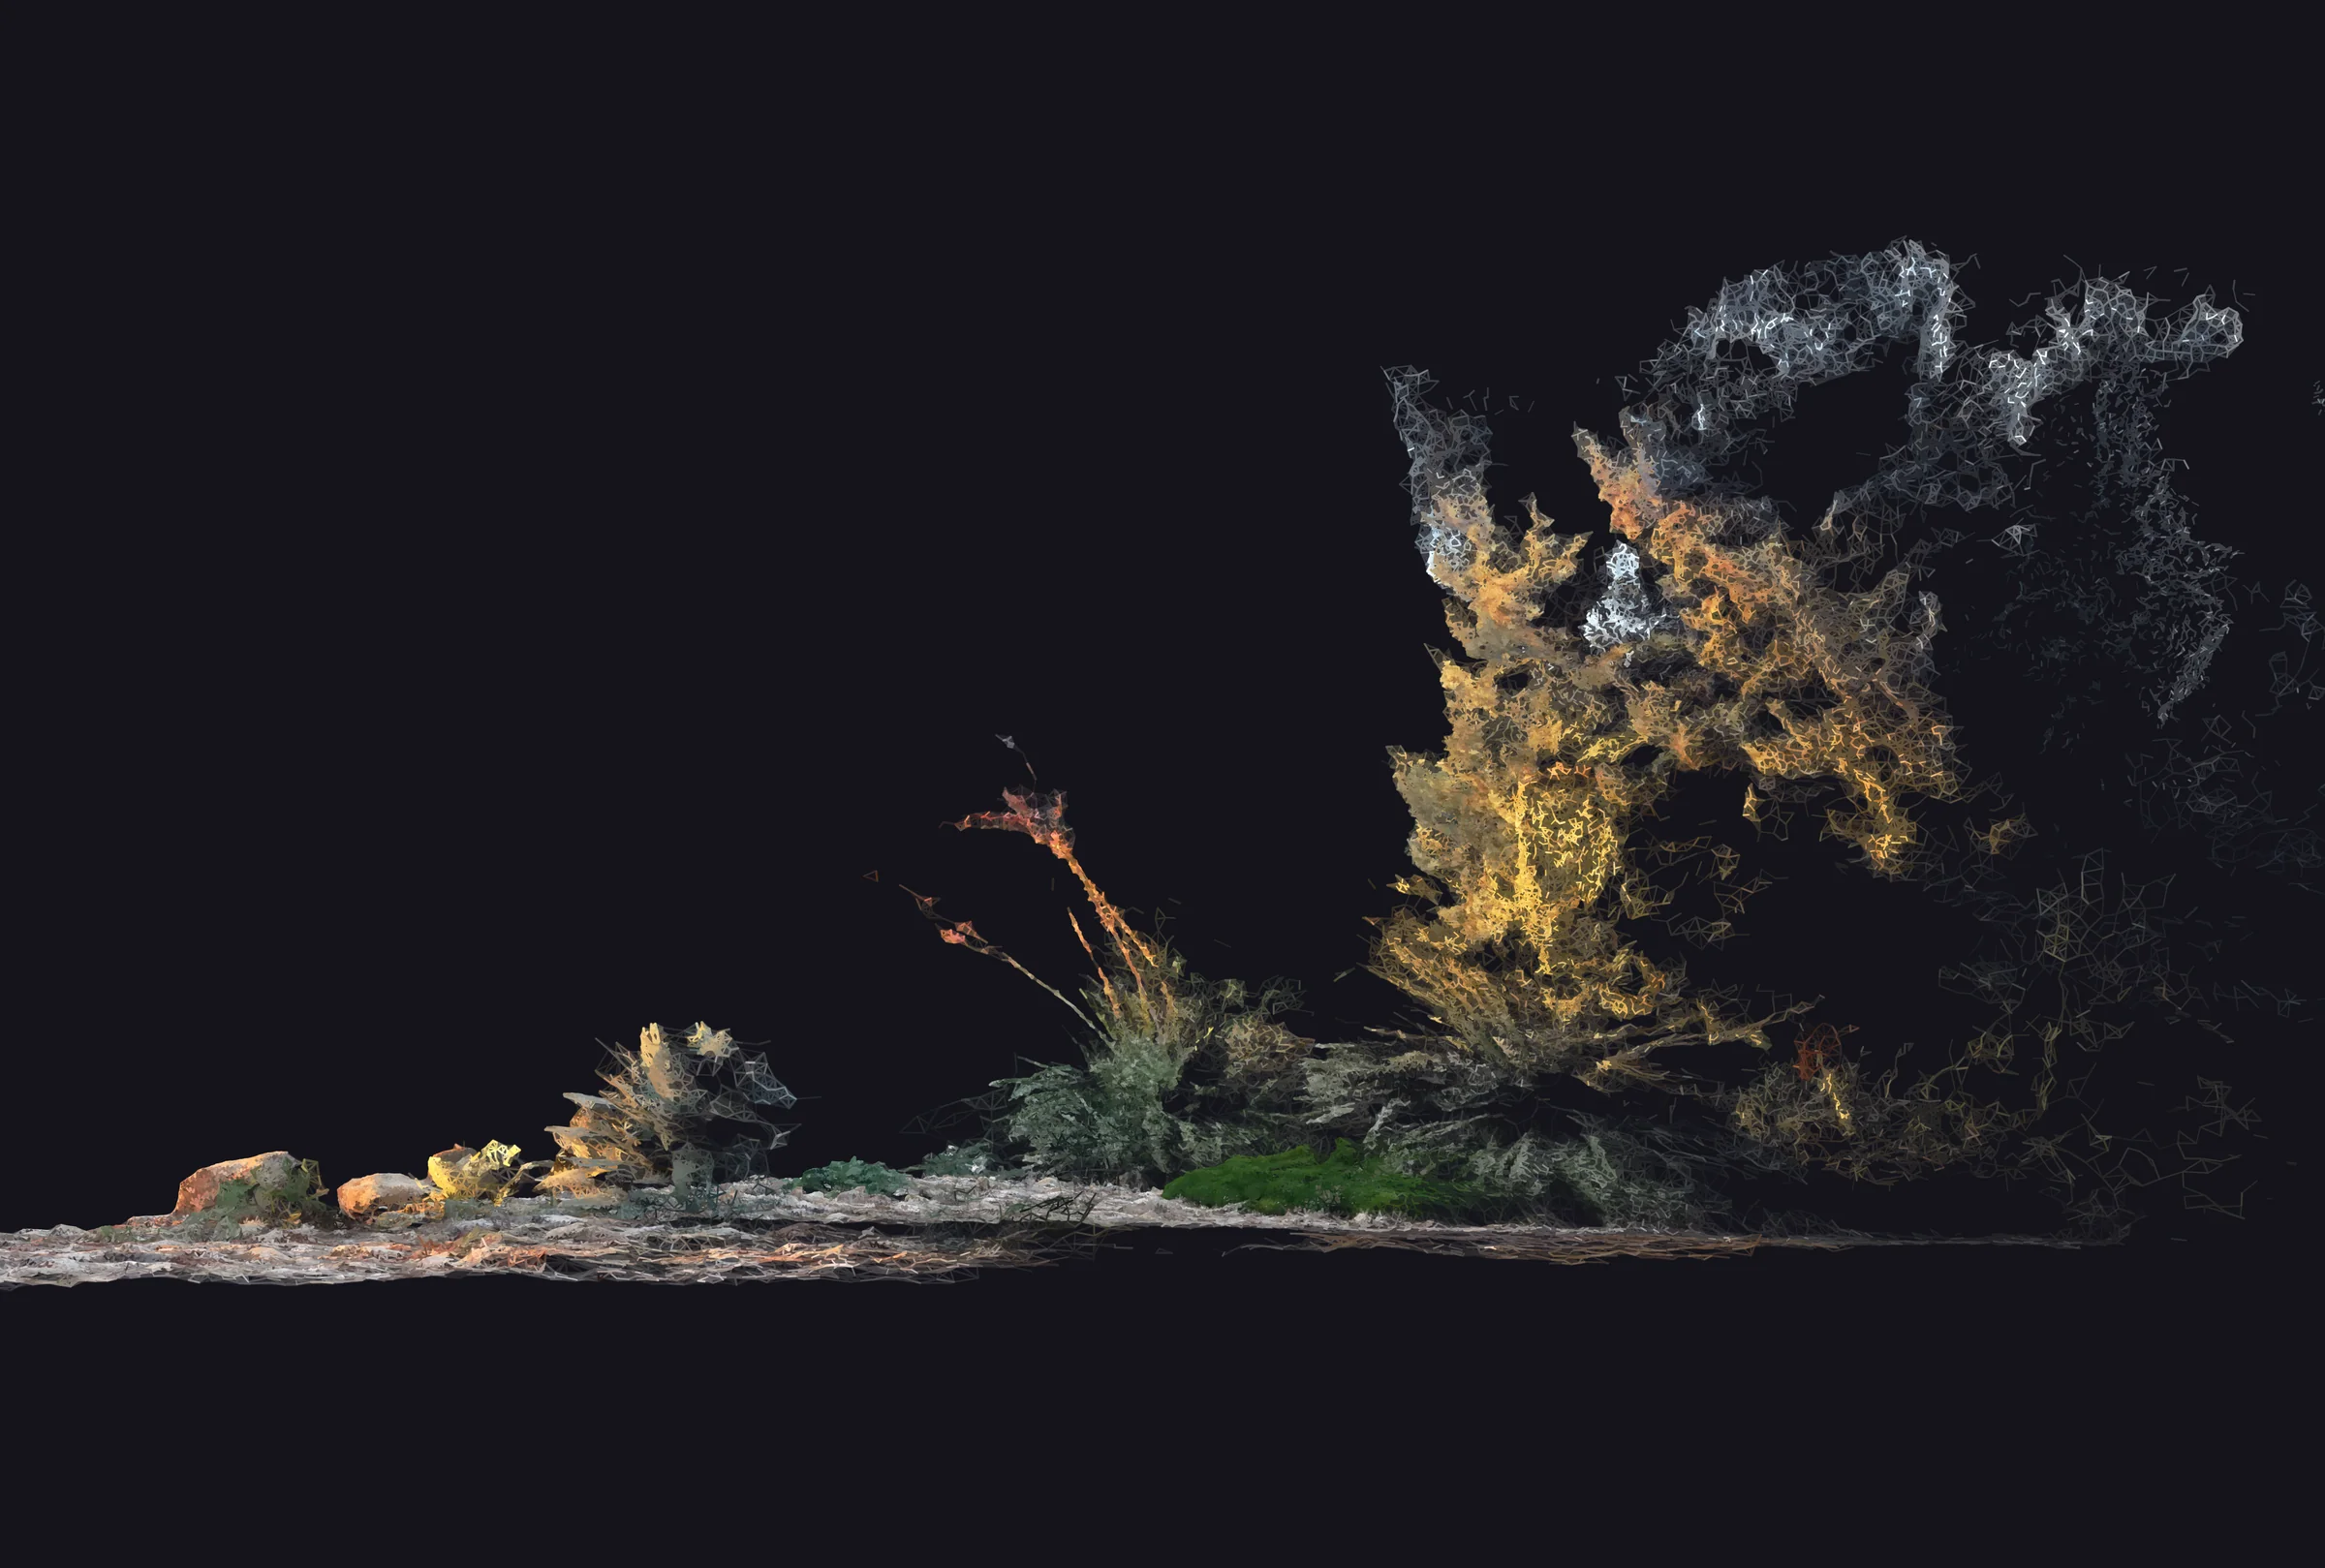
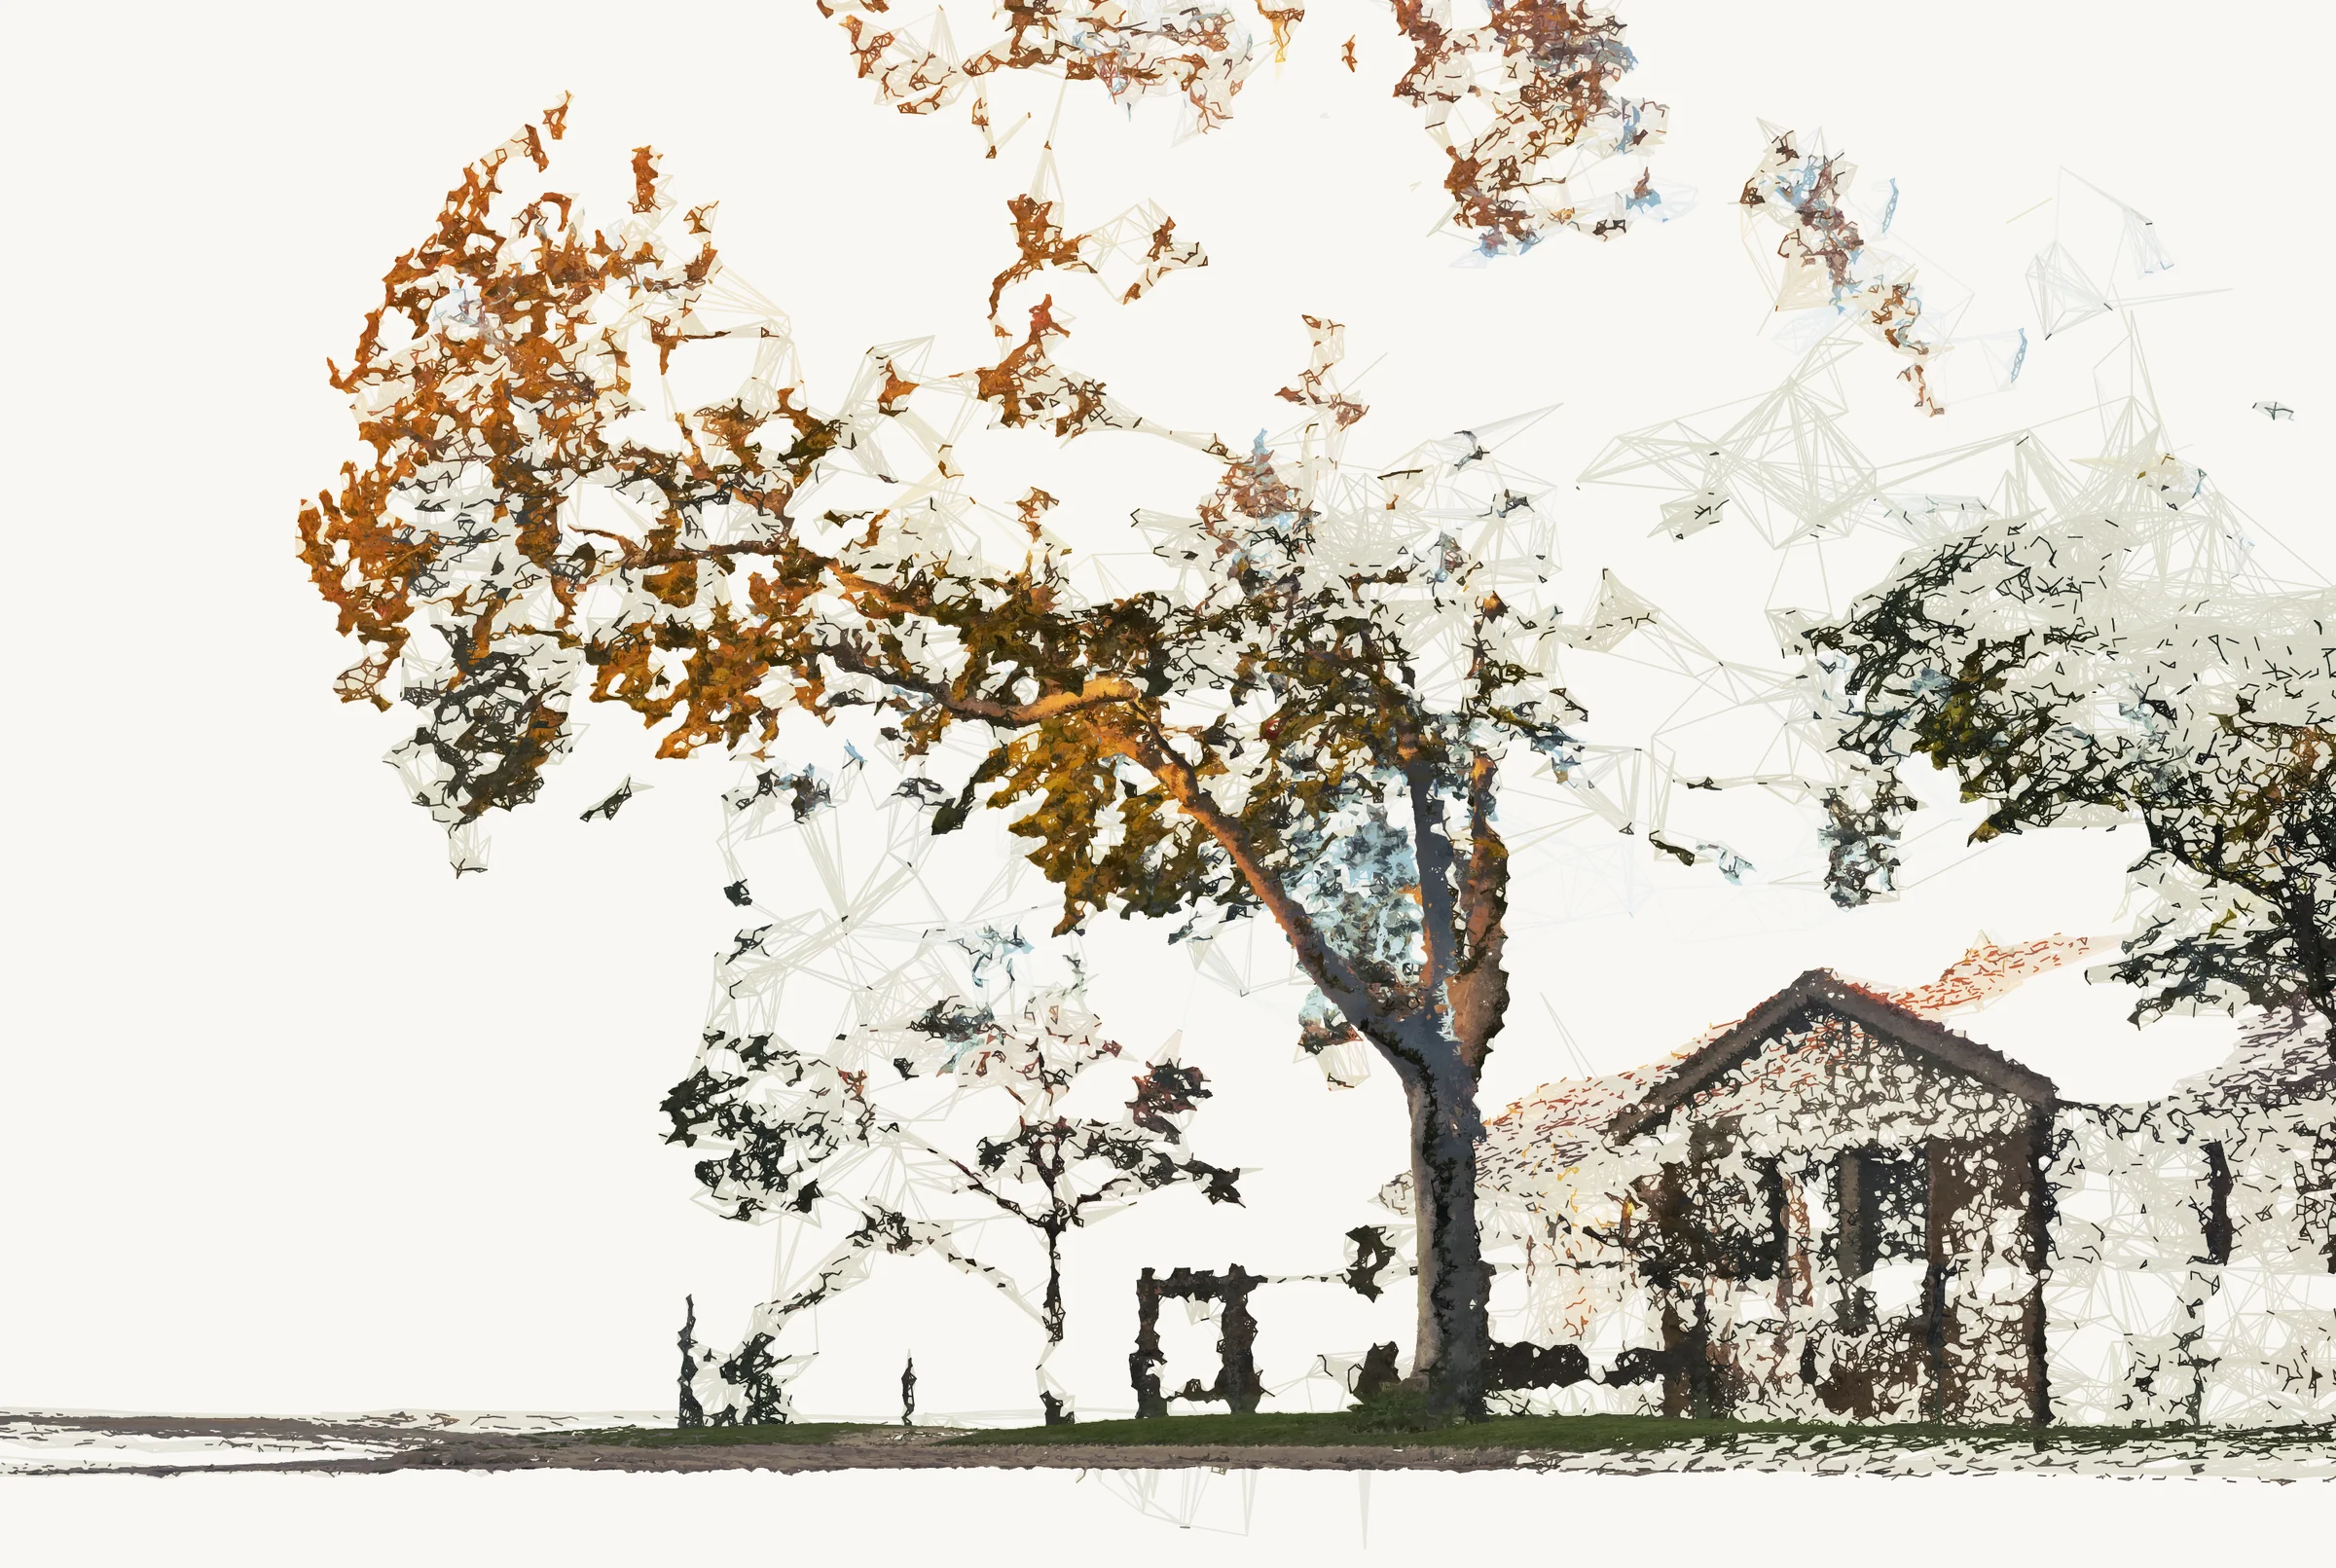
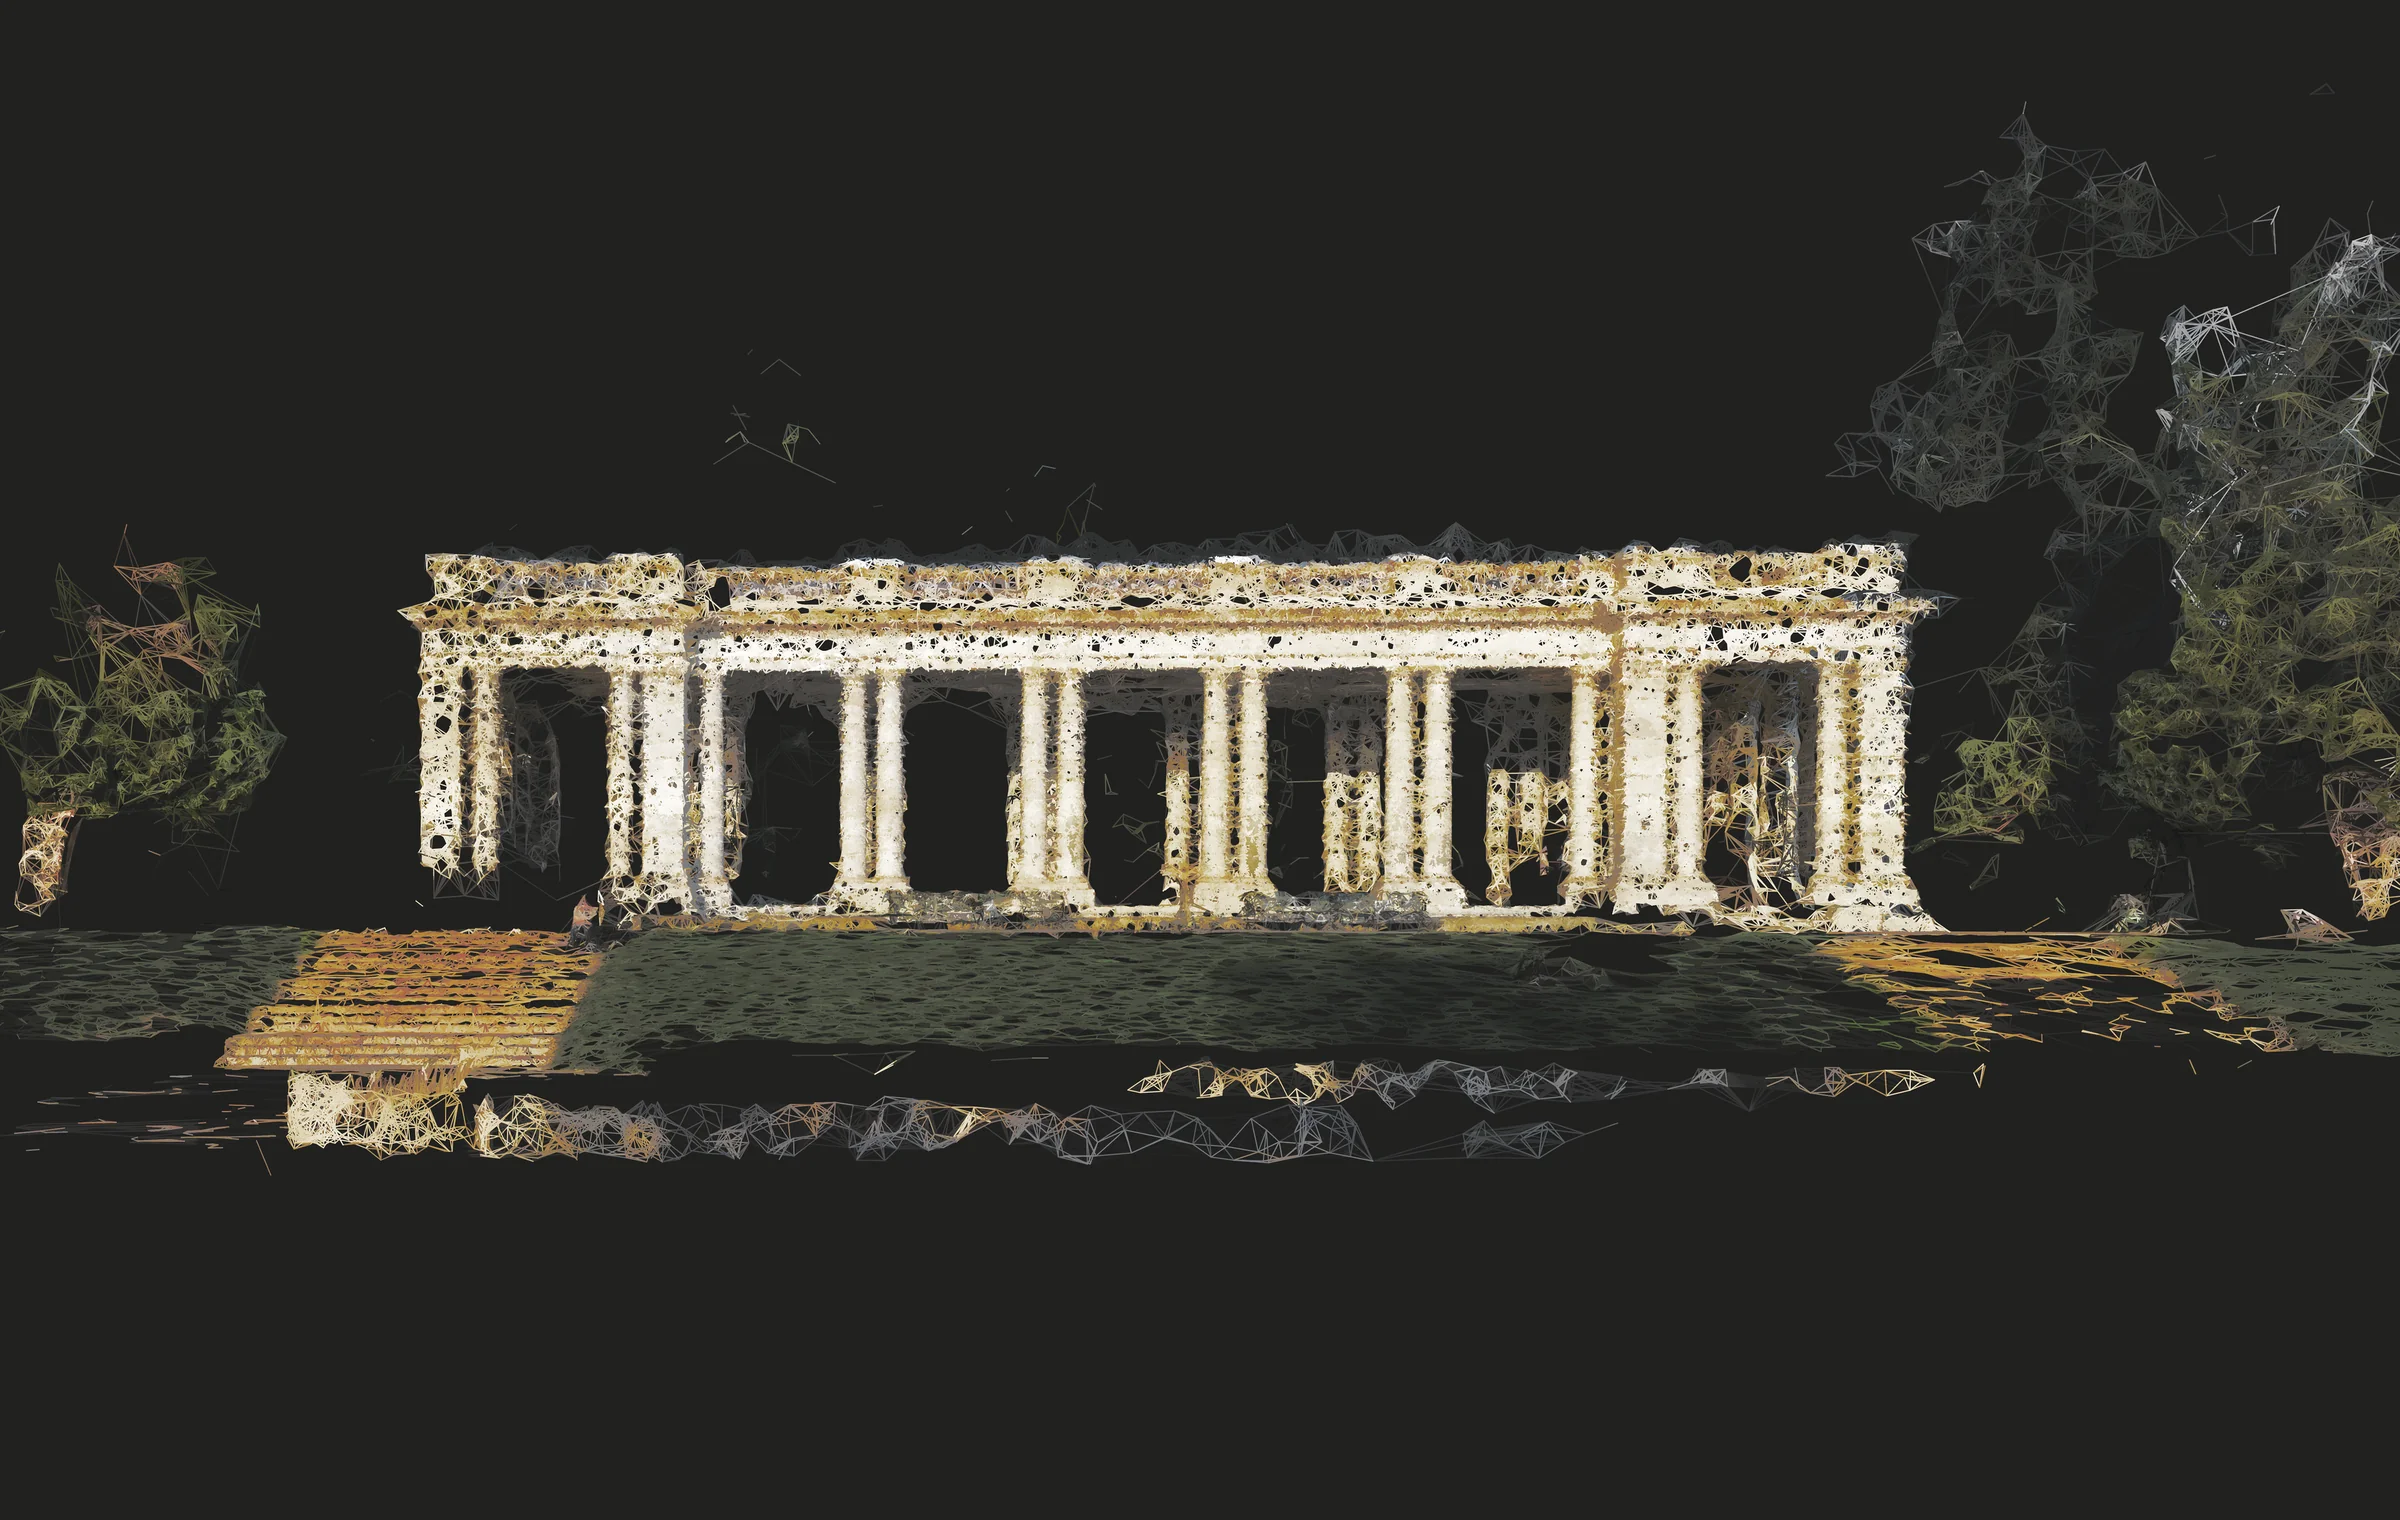
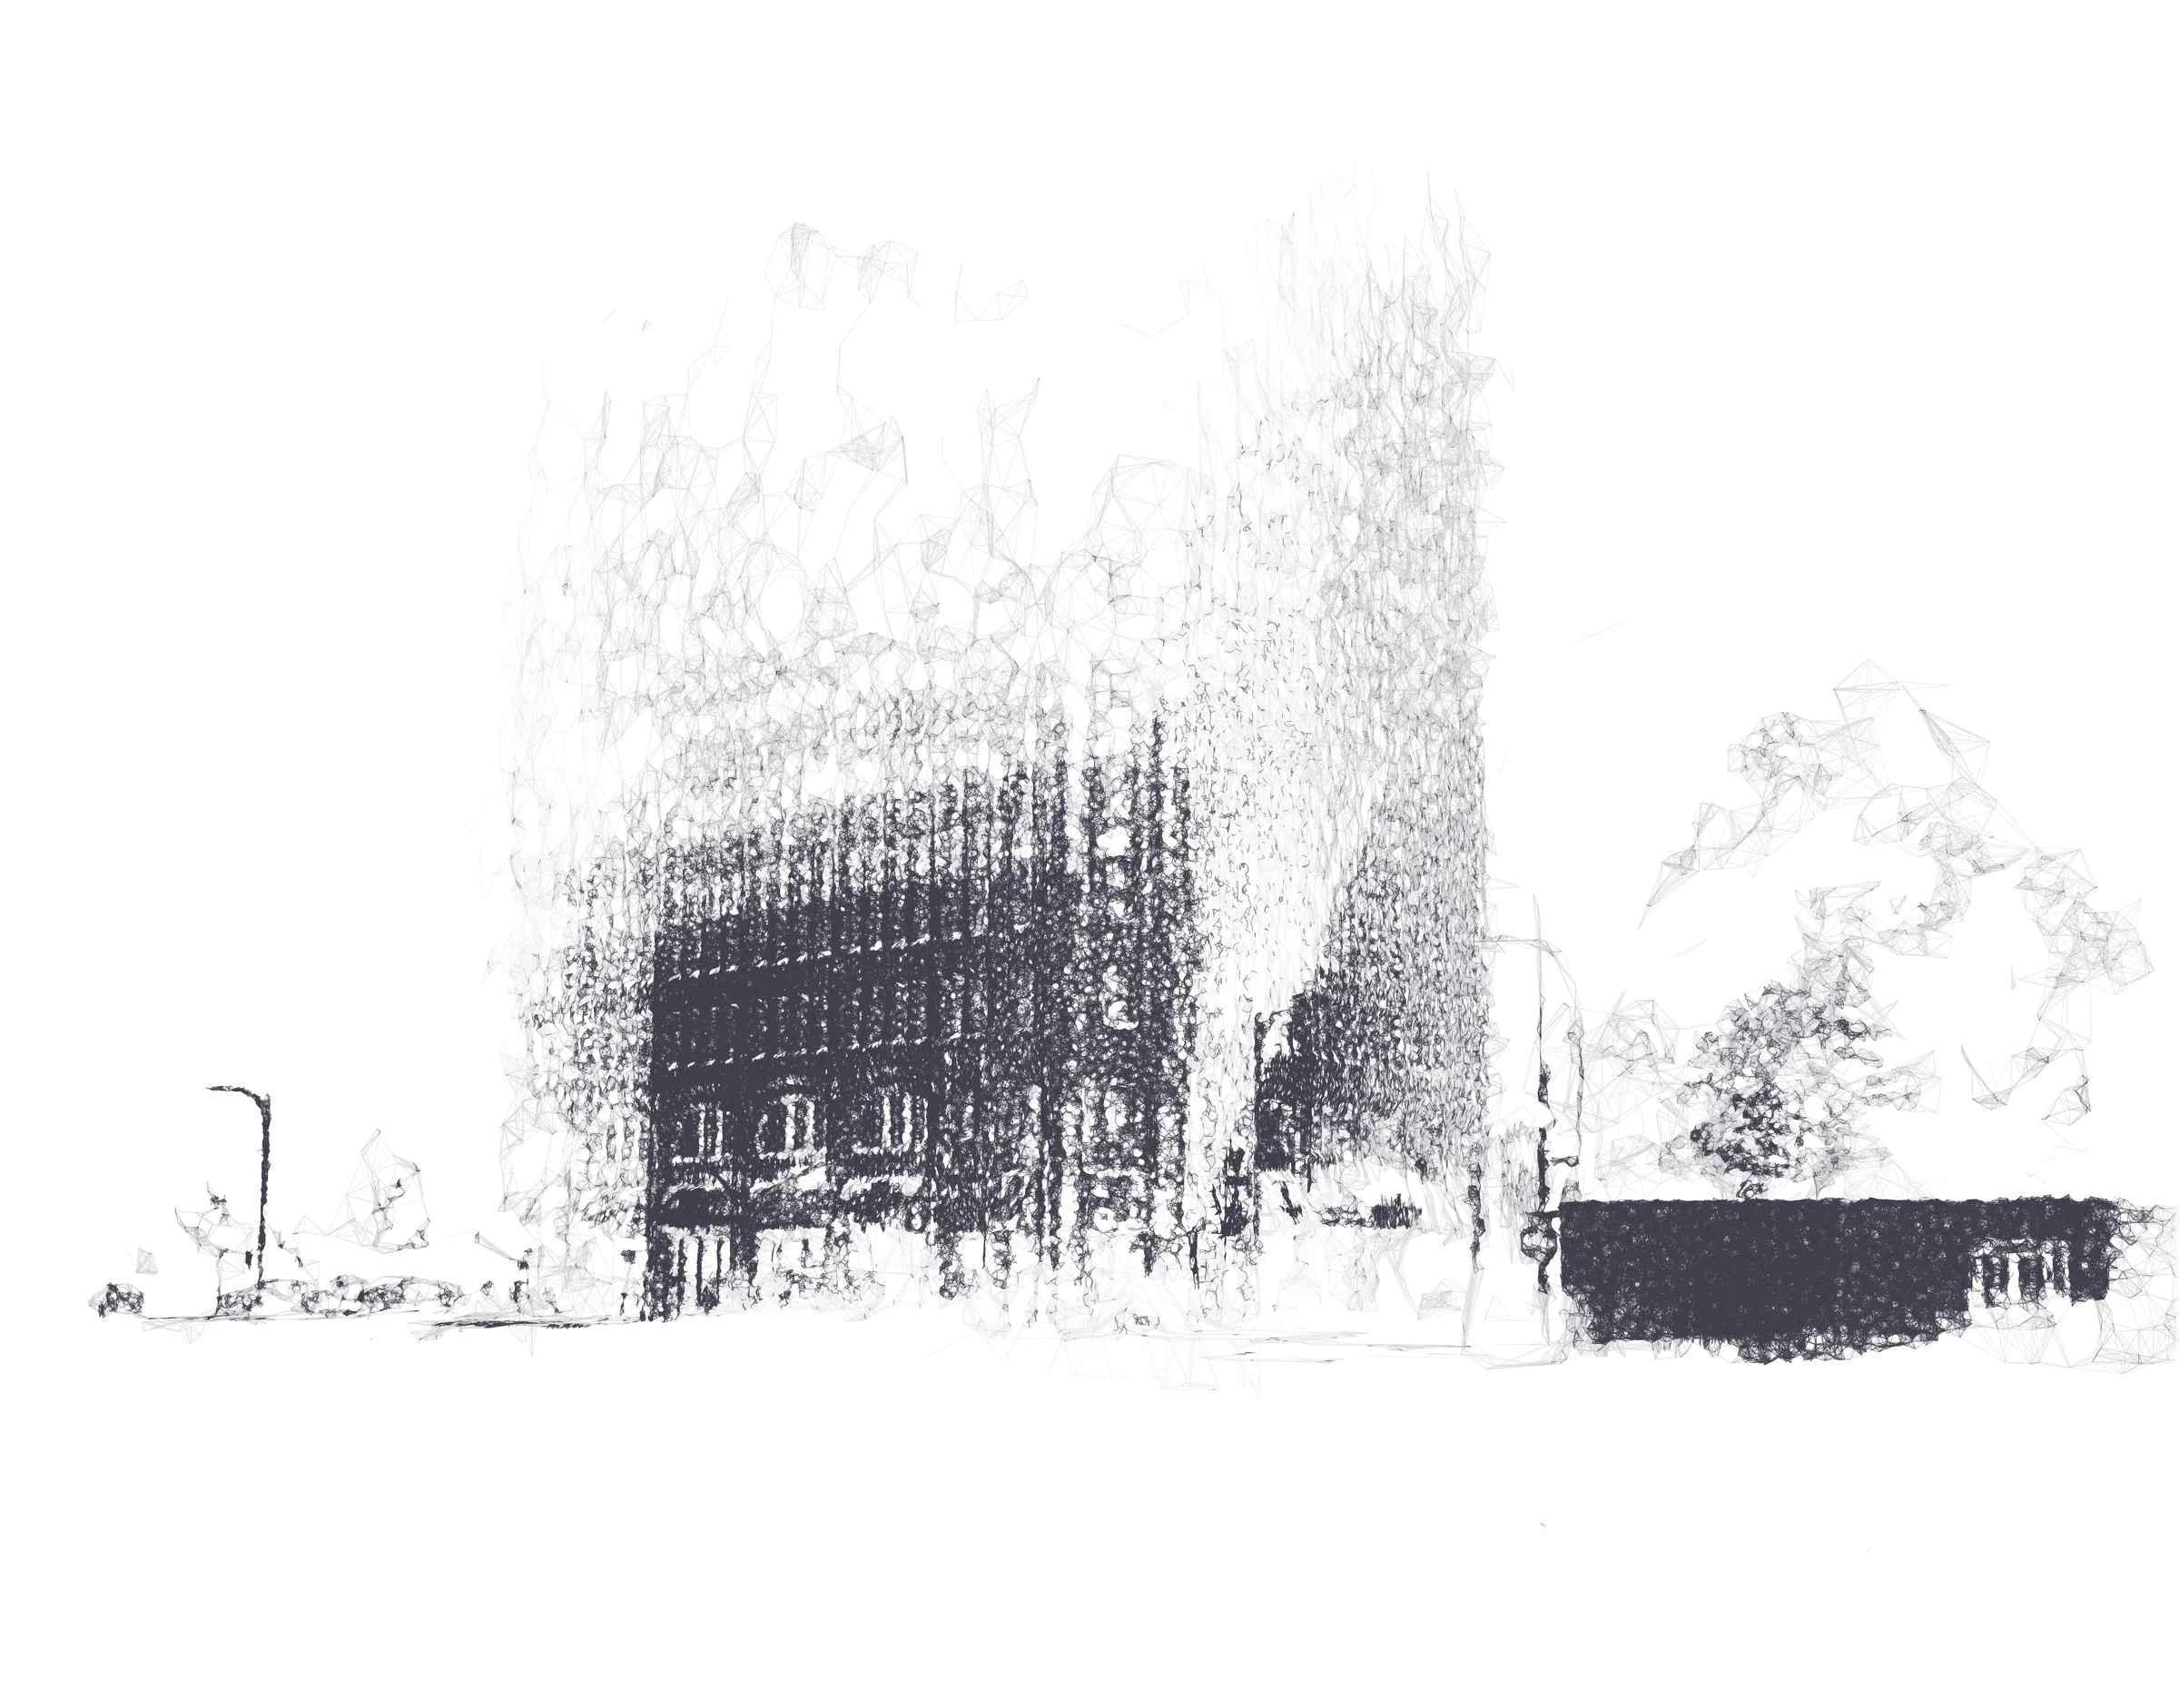
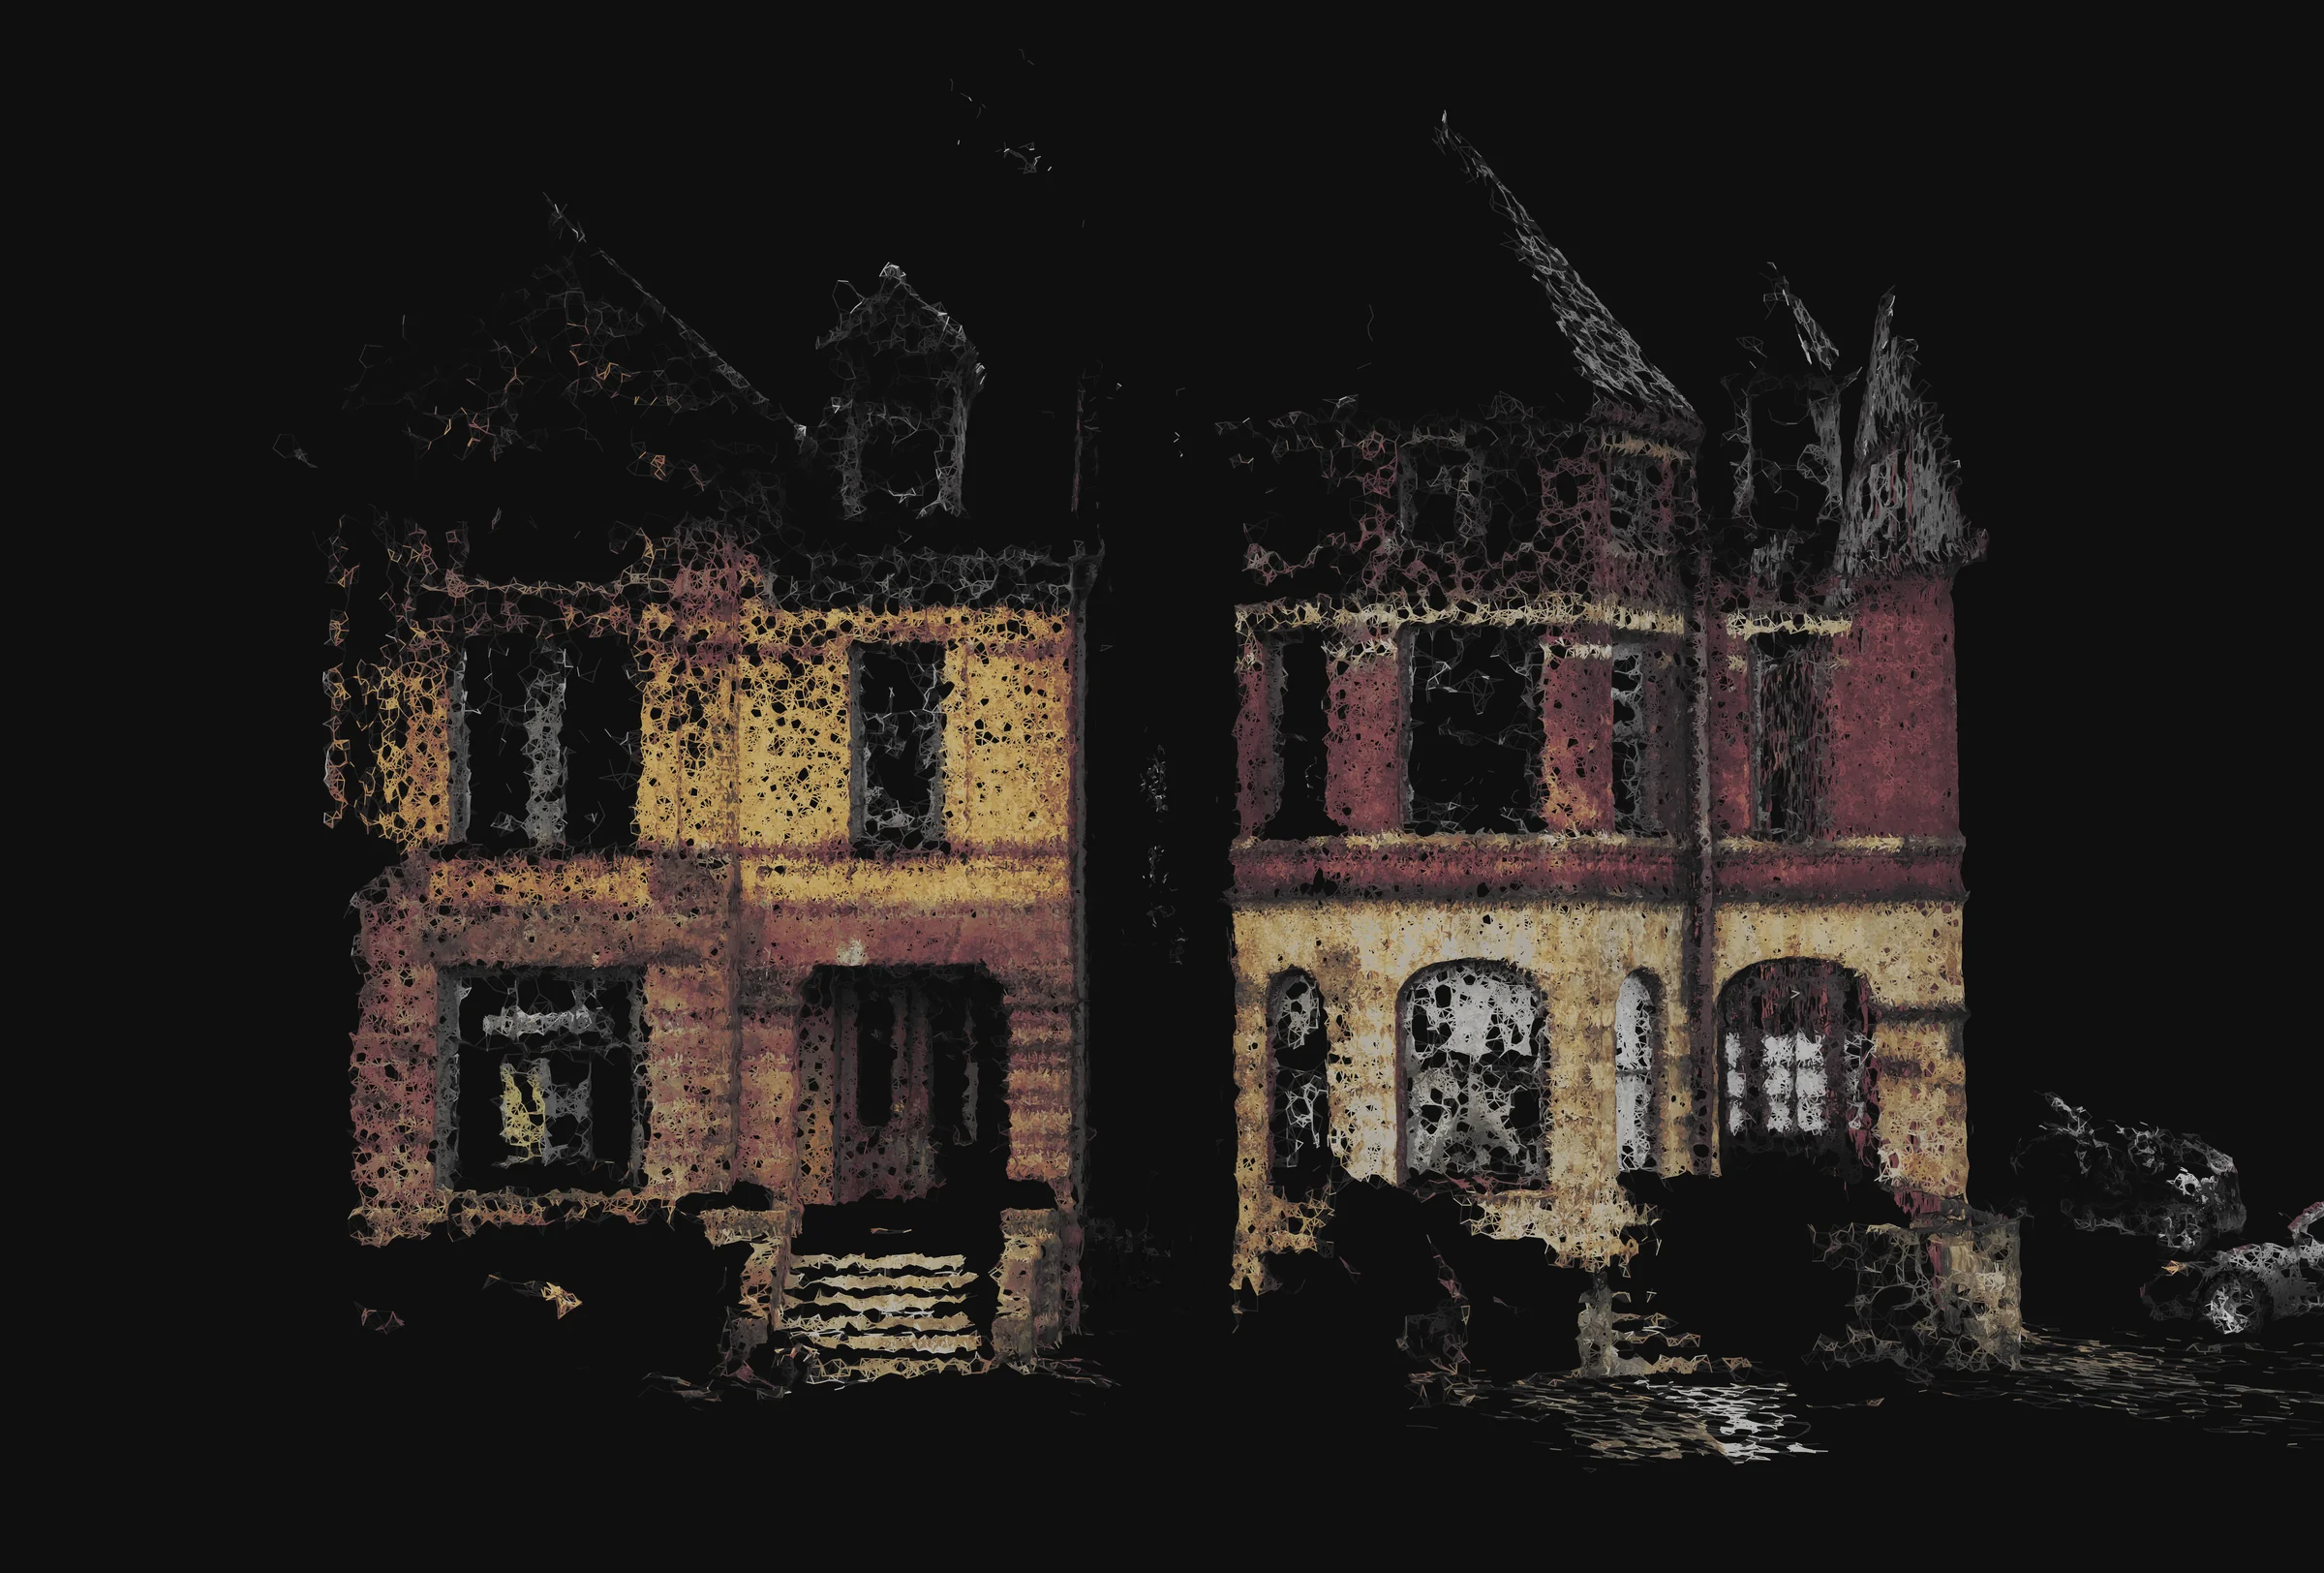
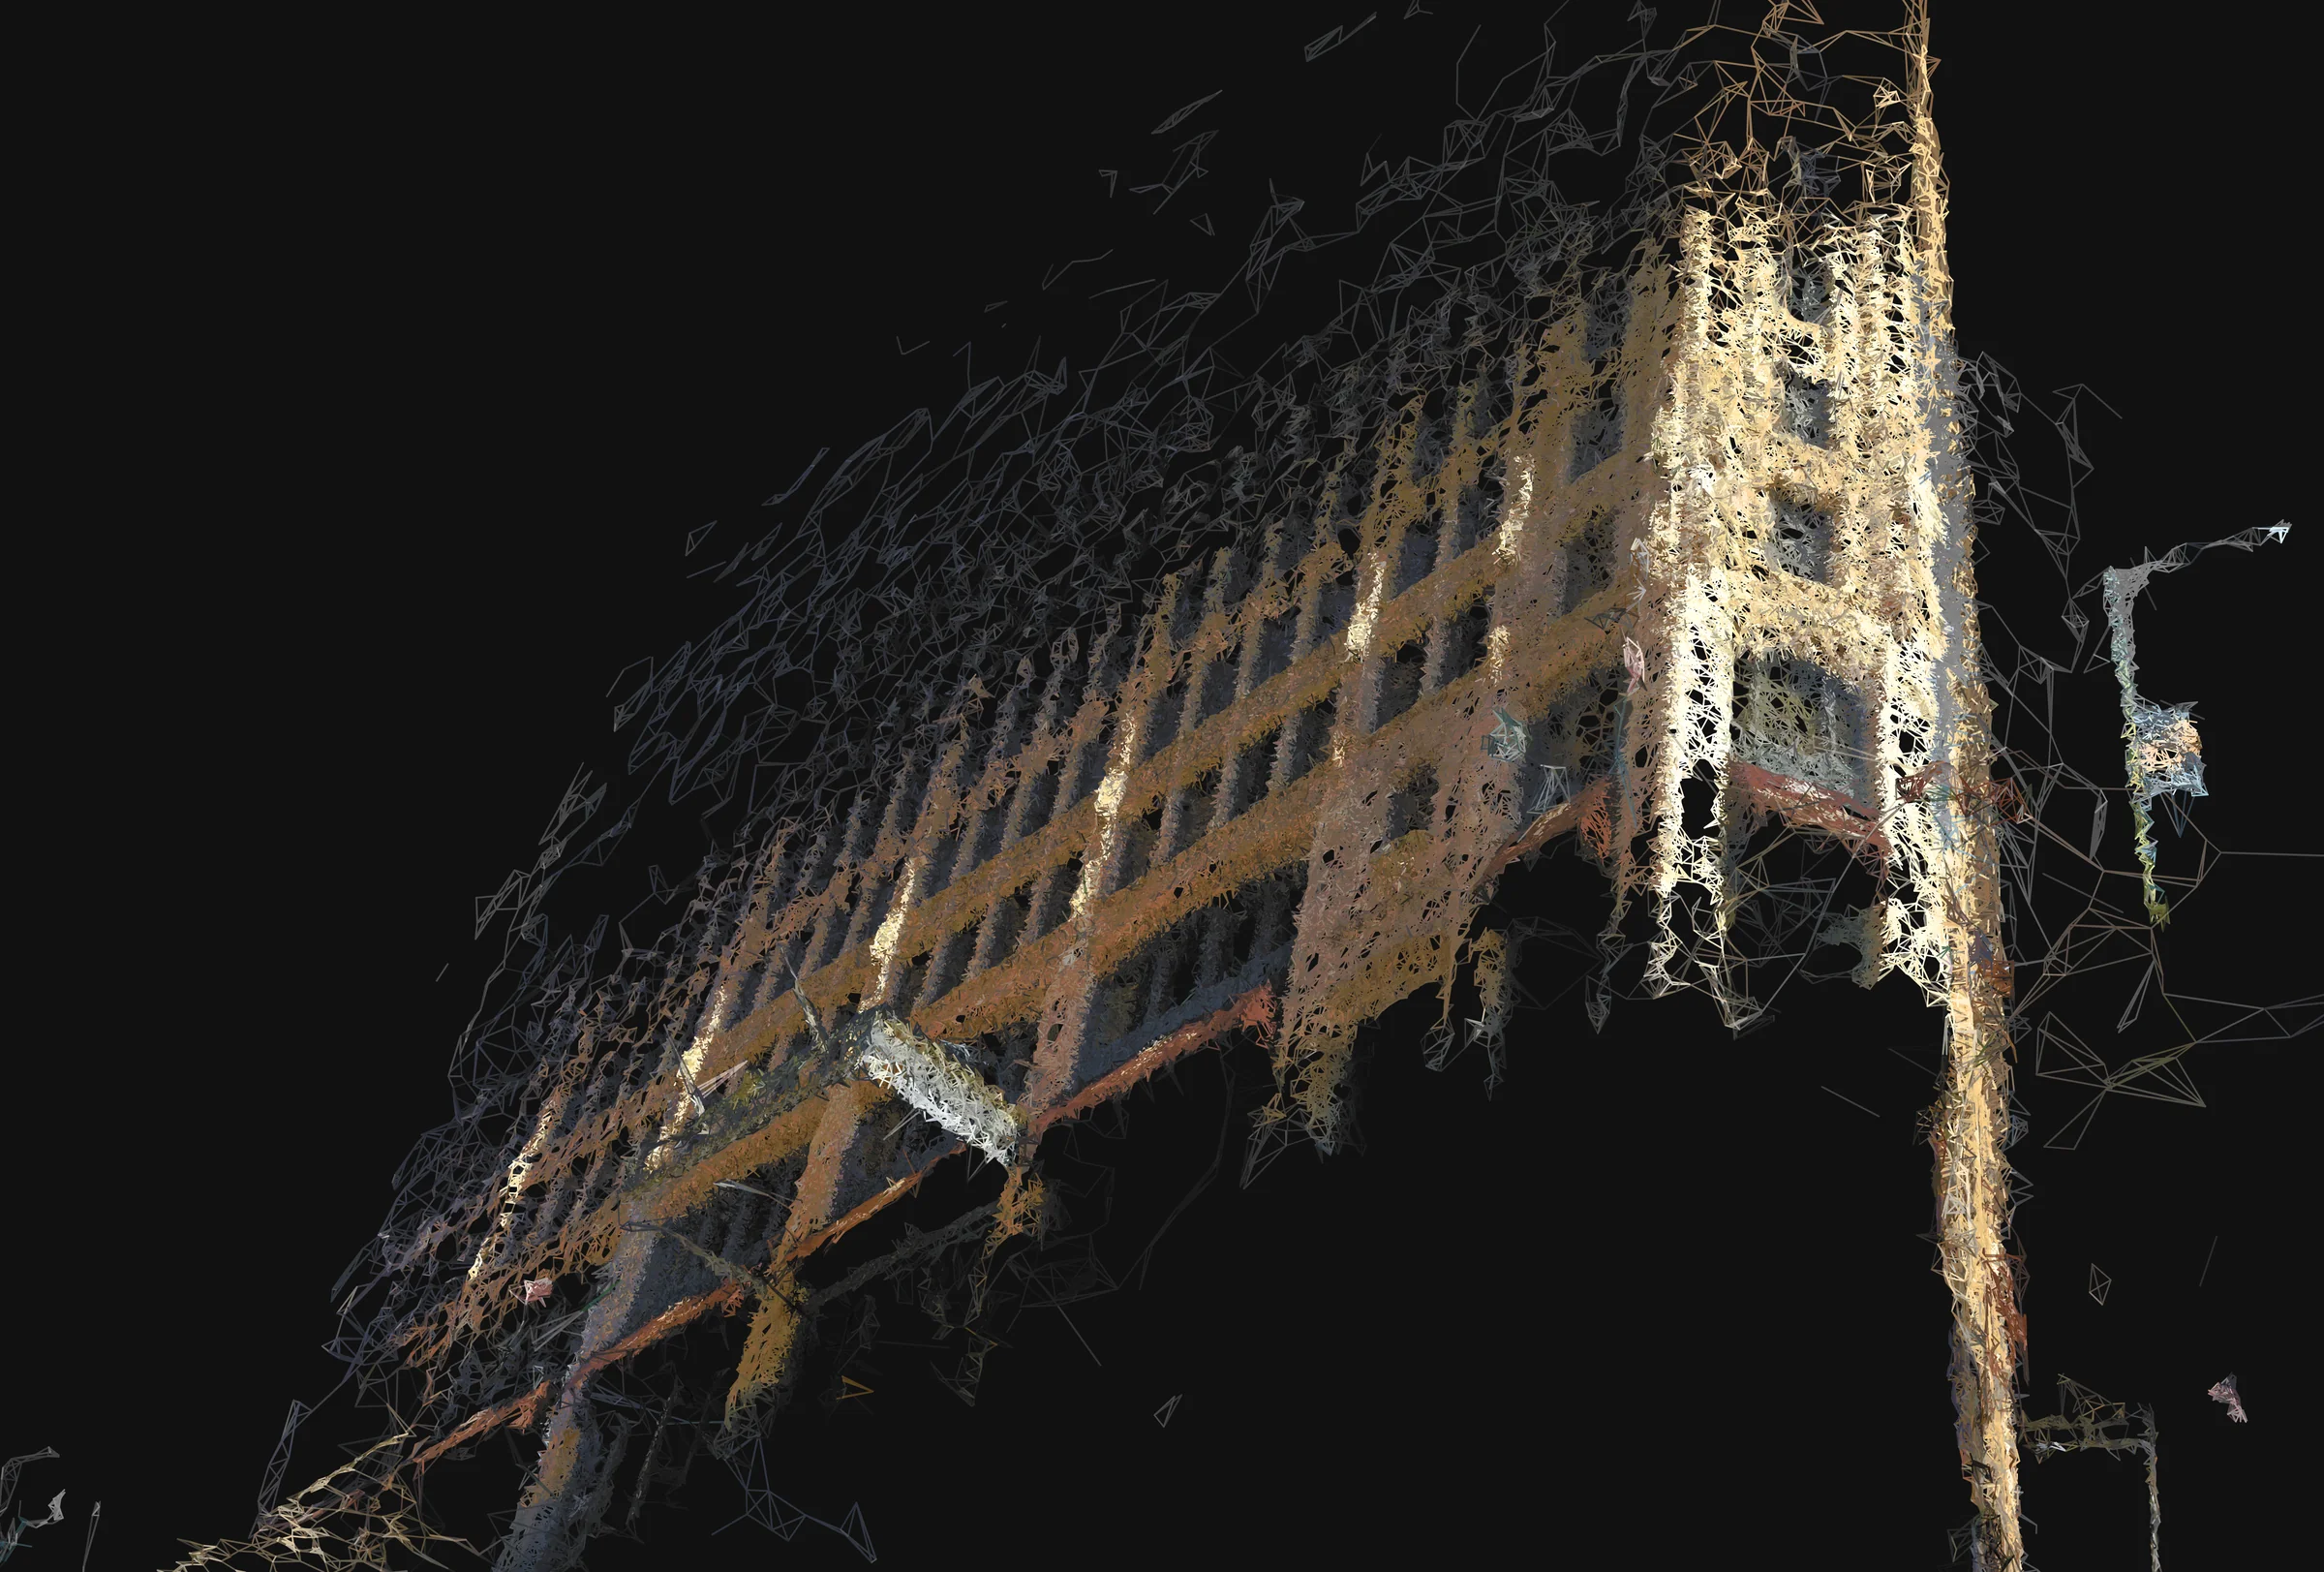
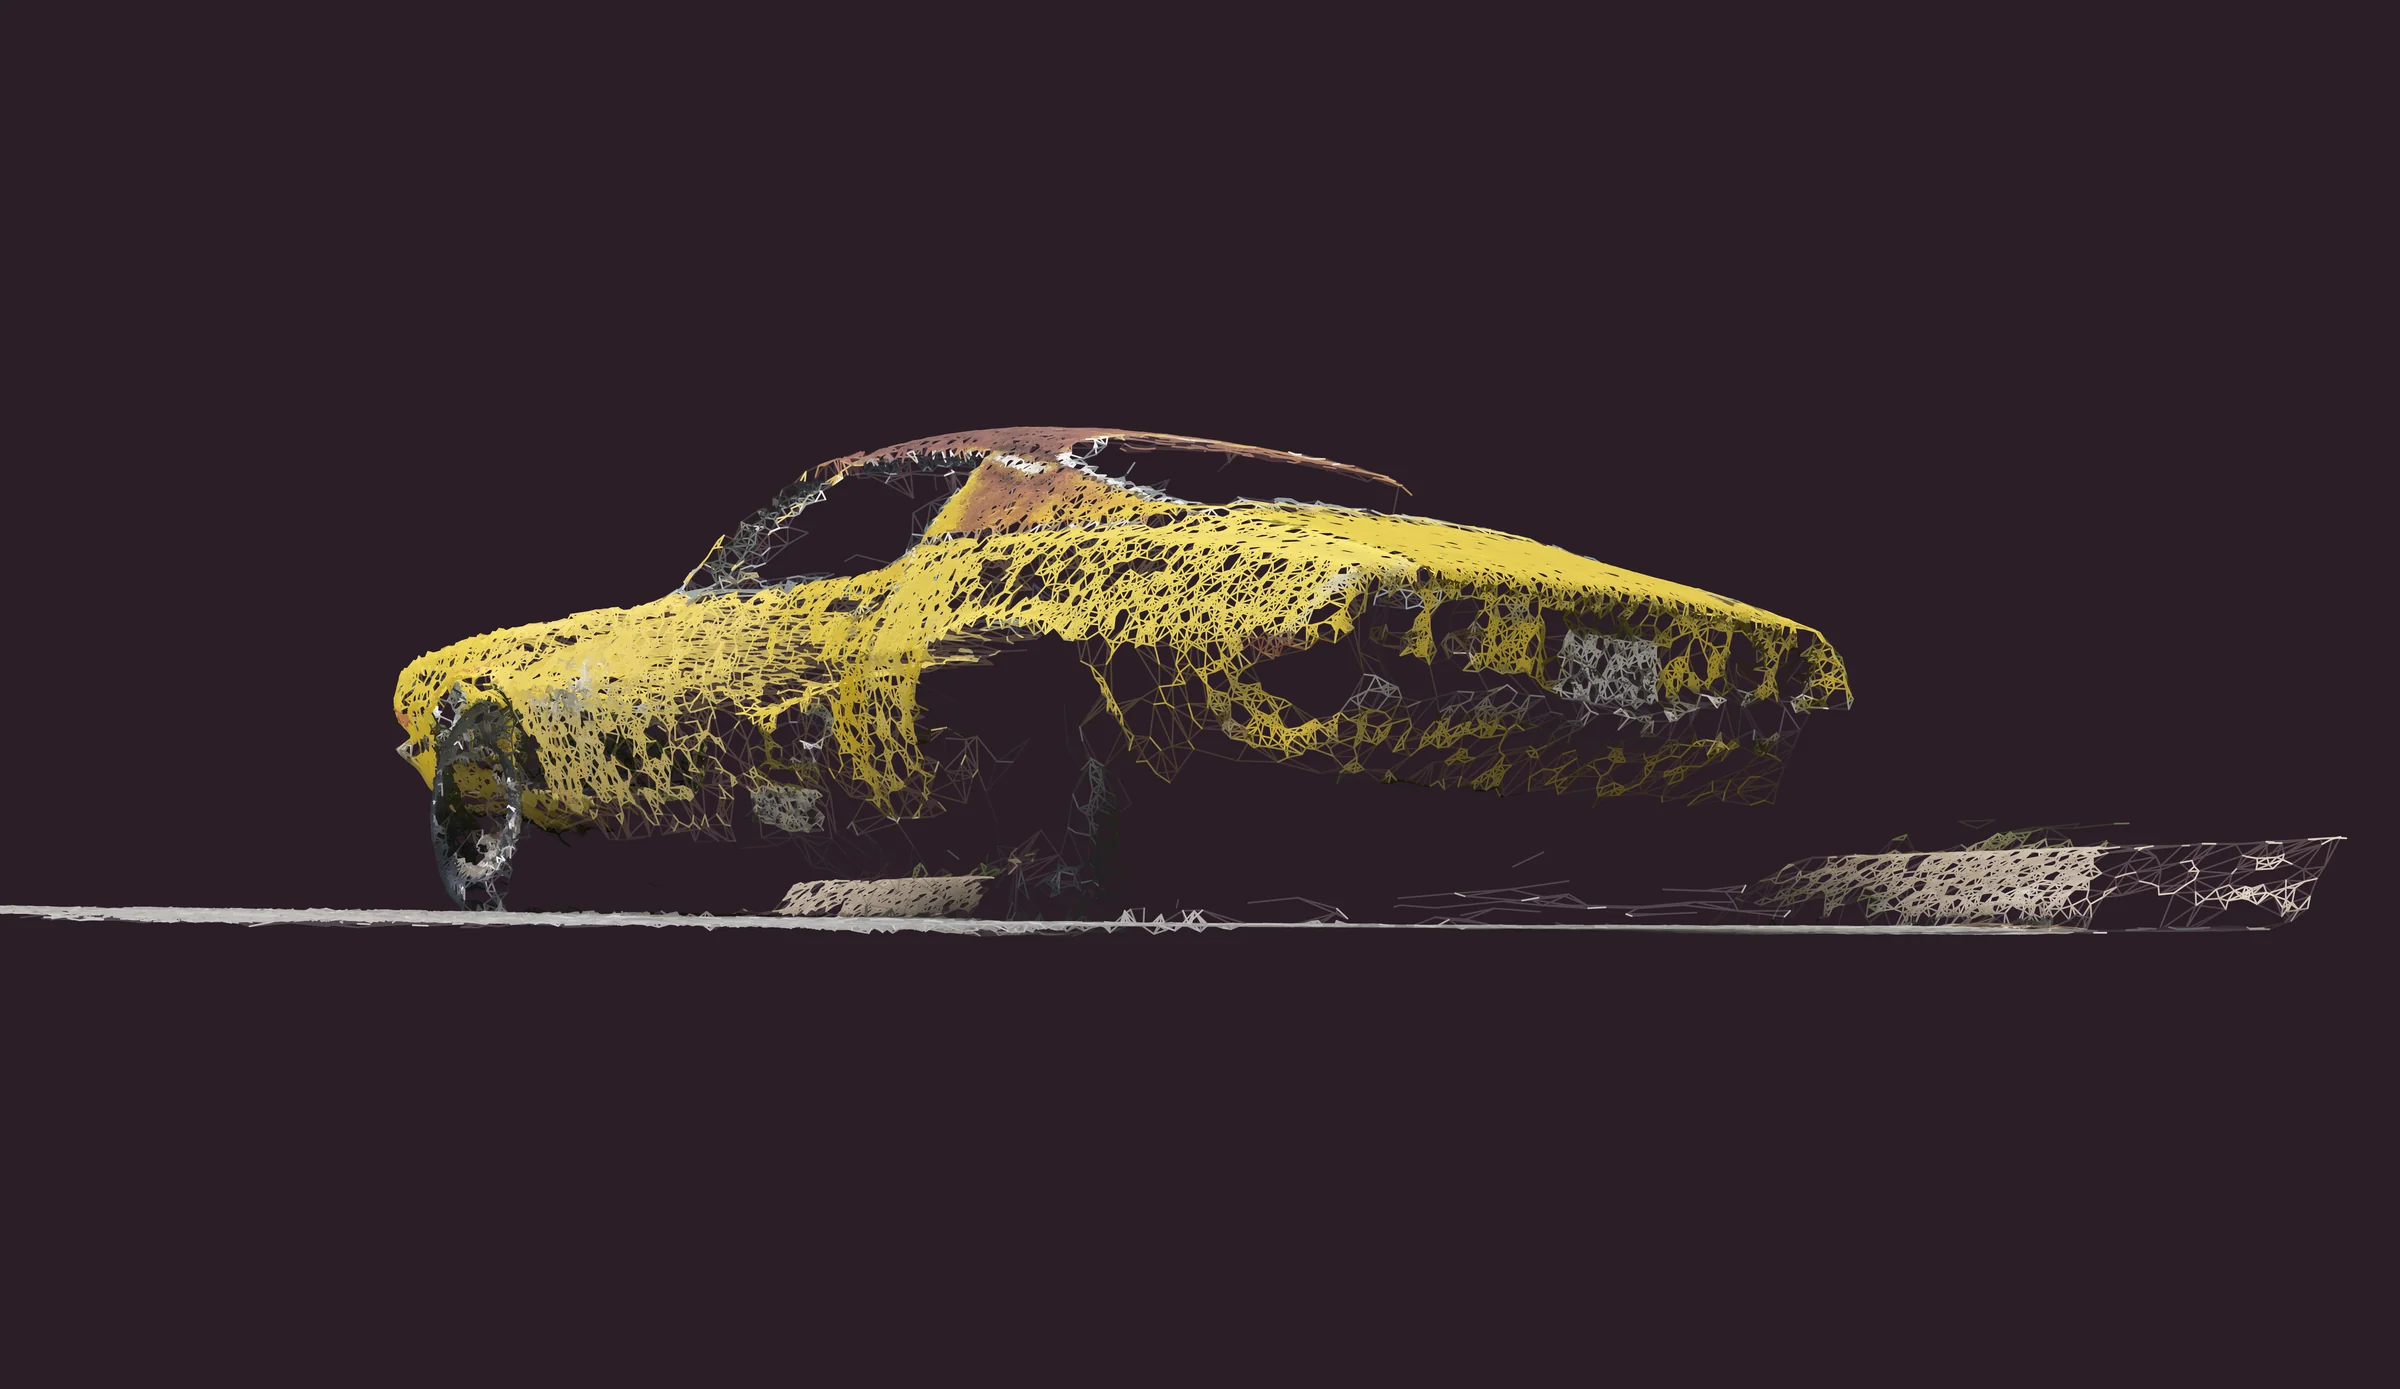
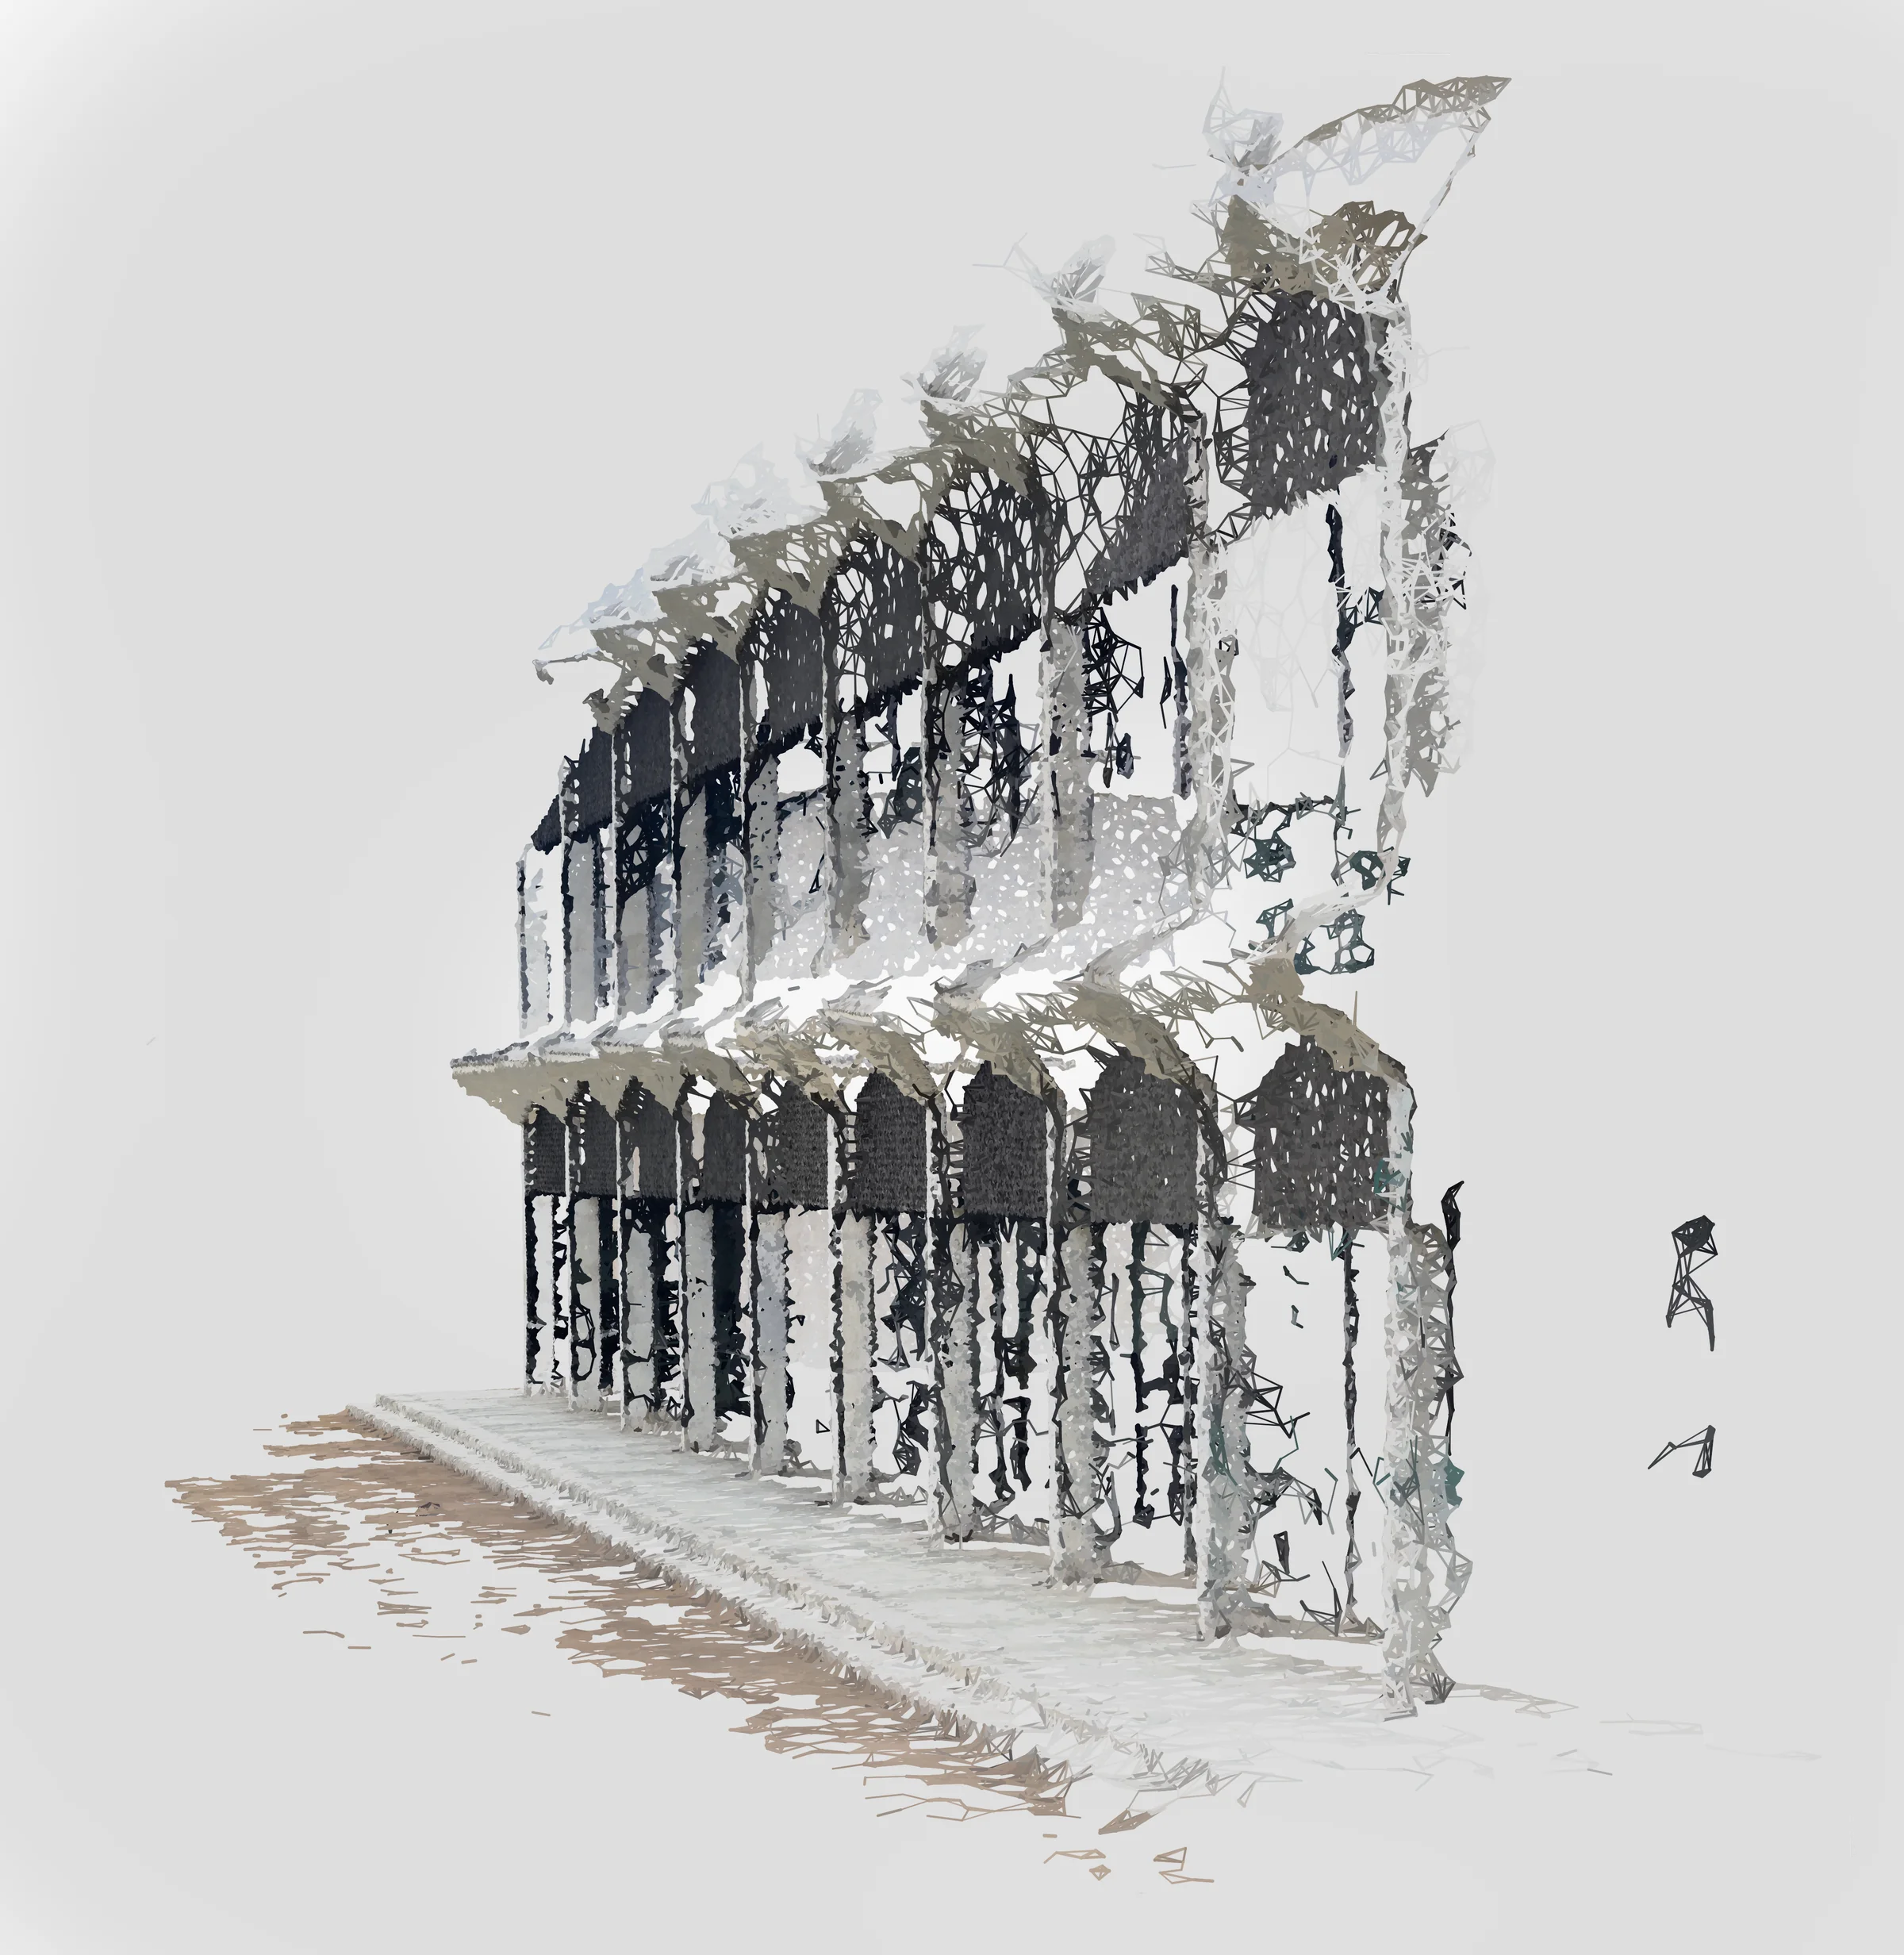
Summary: I take photos of a scene, then use Colmap and OpenMVS to build a dense point cloud. I use a python viewer to style the line art, altering settings for points connect with their nearest neighbors. This replaces my previous workflow where the whole cloud went into Rhino/Grasshopper for styling. Raw line art goes into Photoshop for blending and coloring adjustments. Full workflow is below.
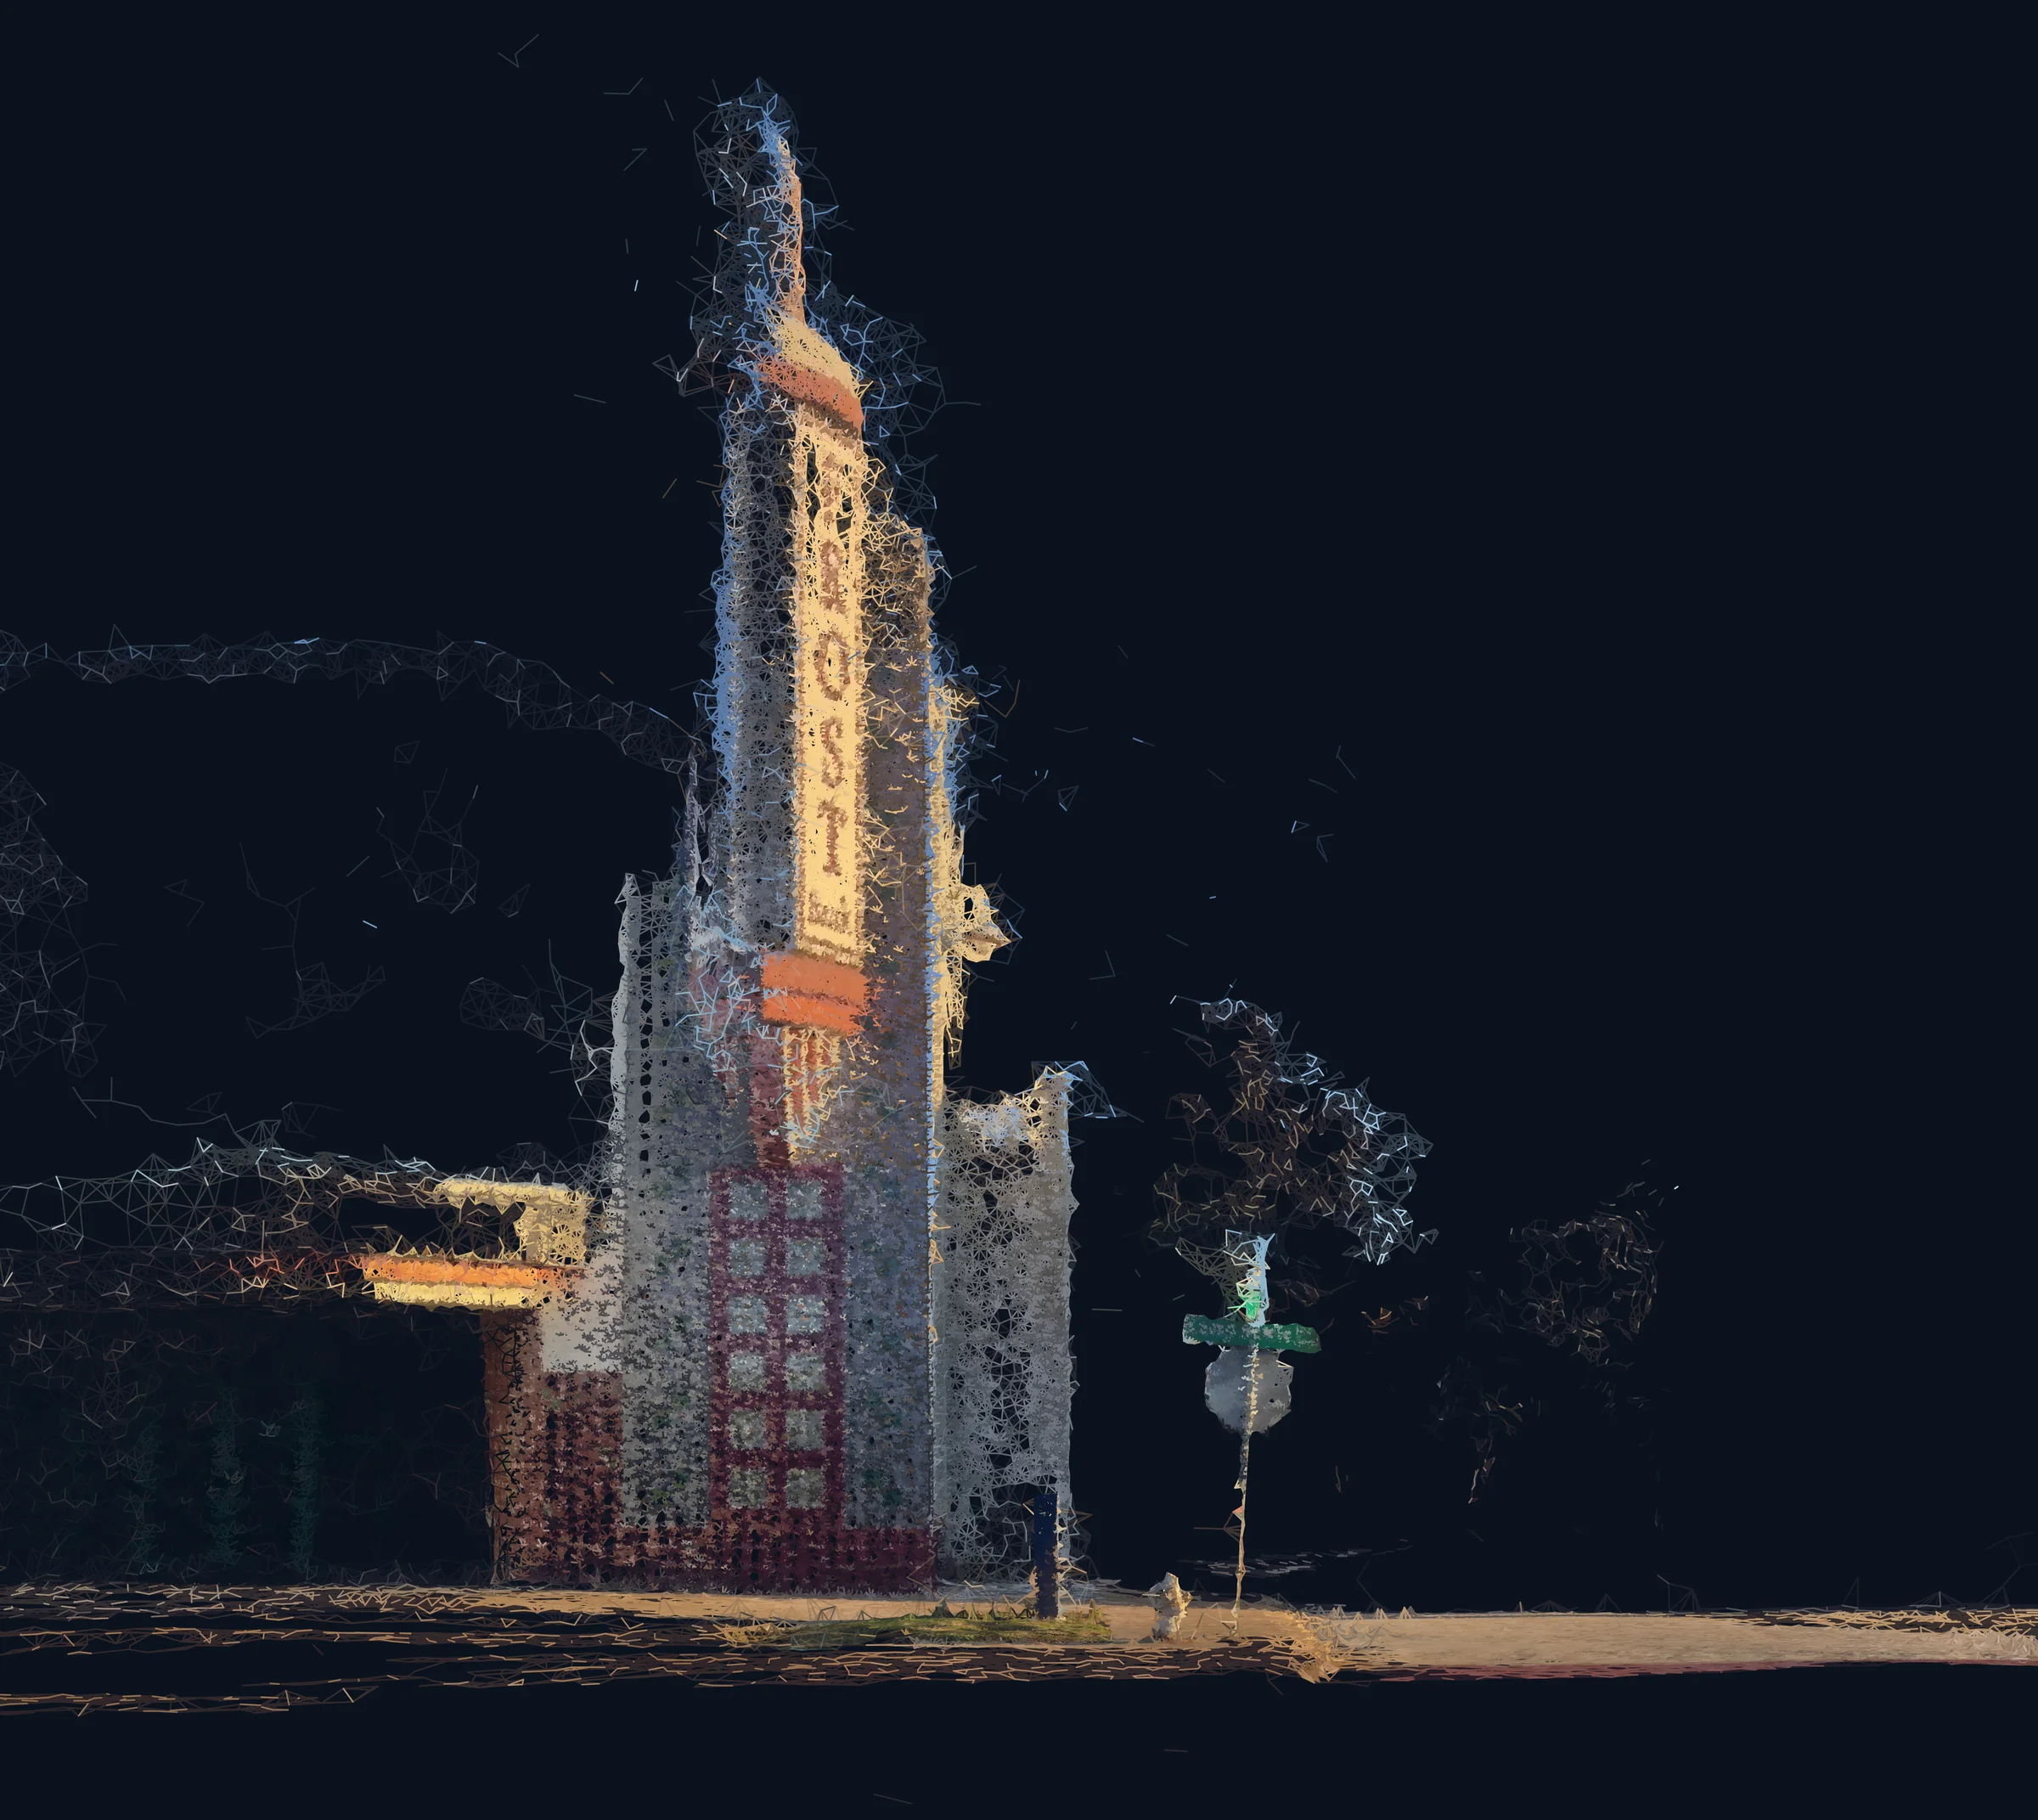
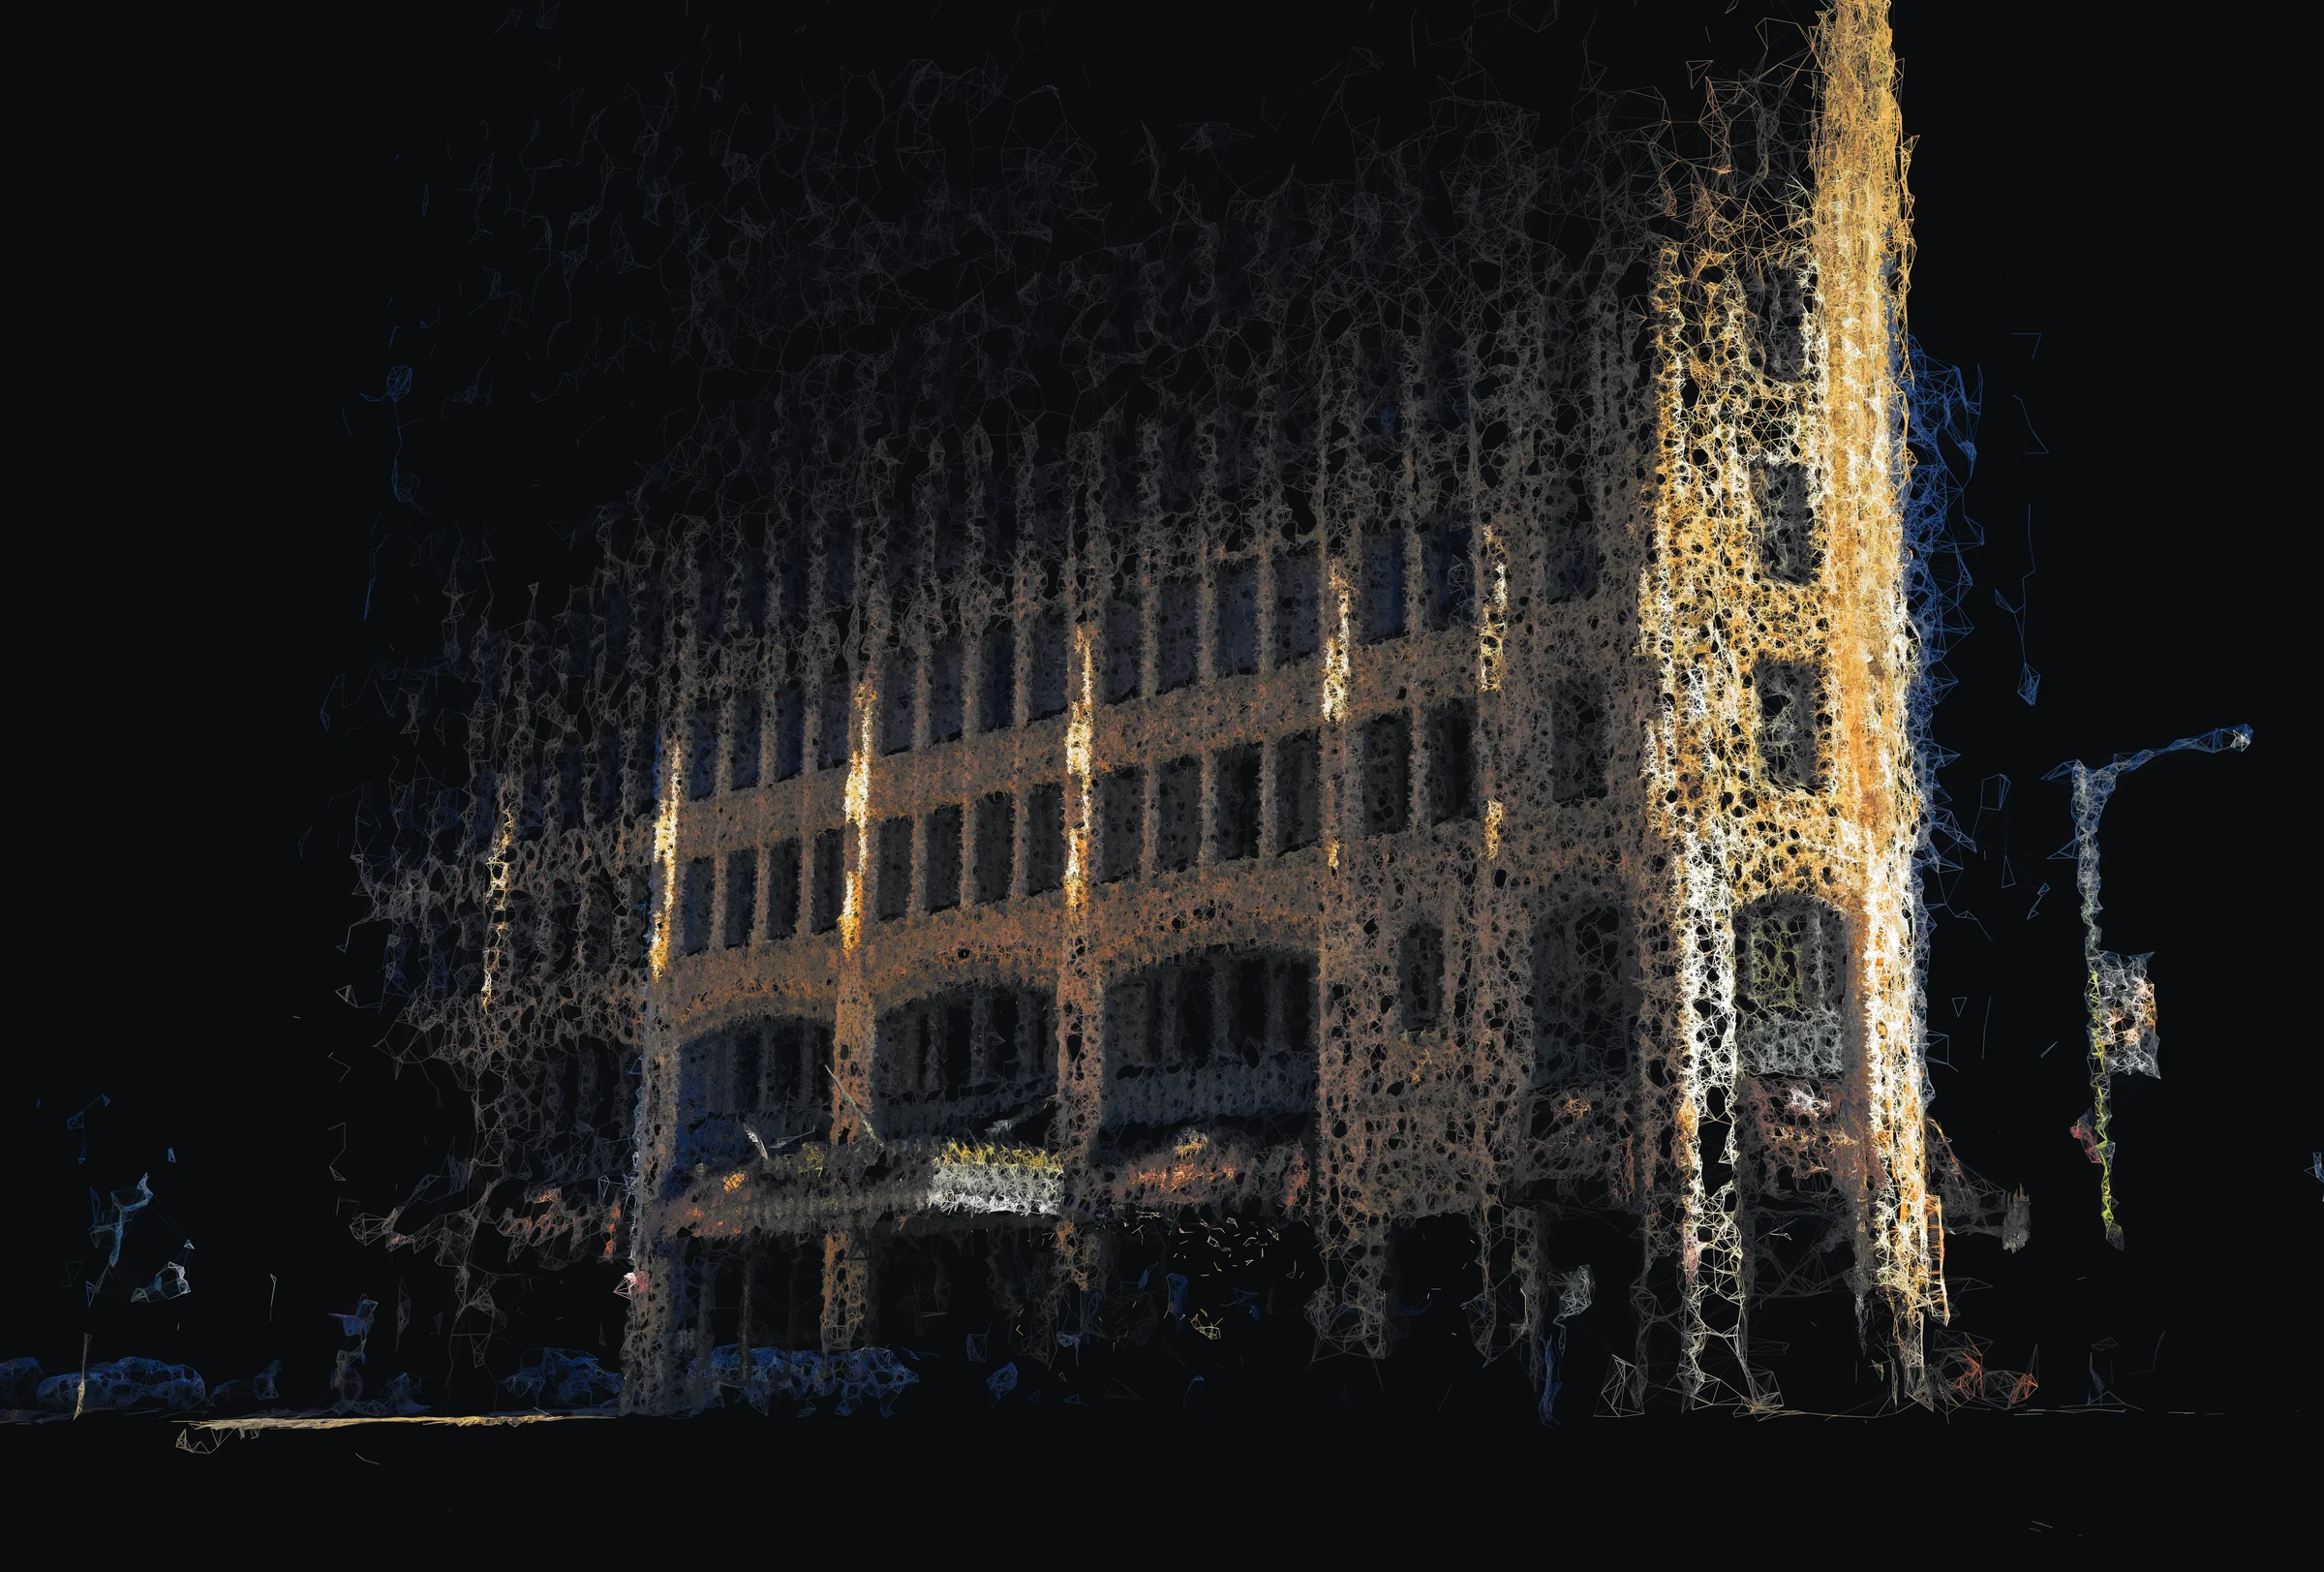
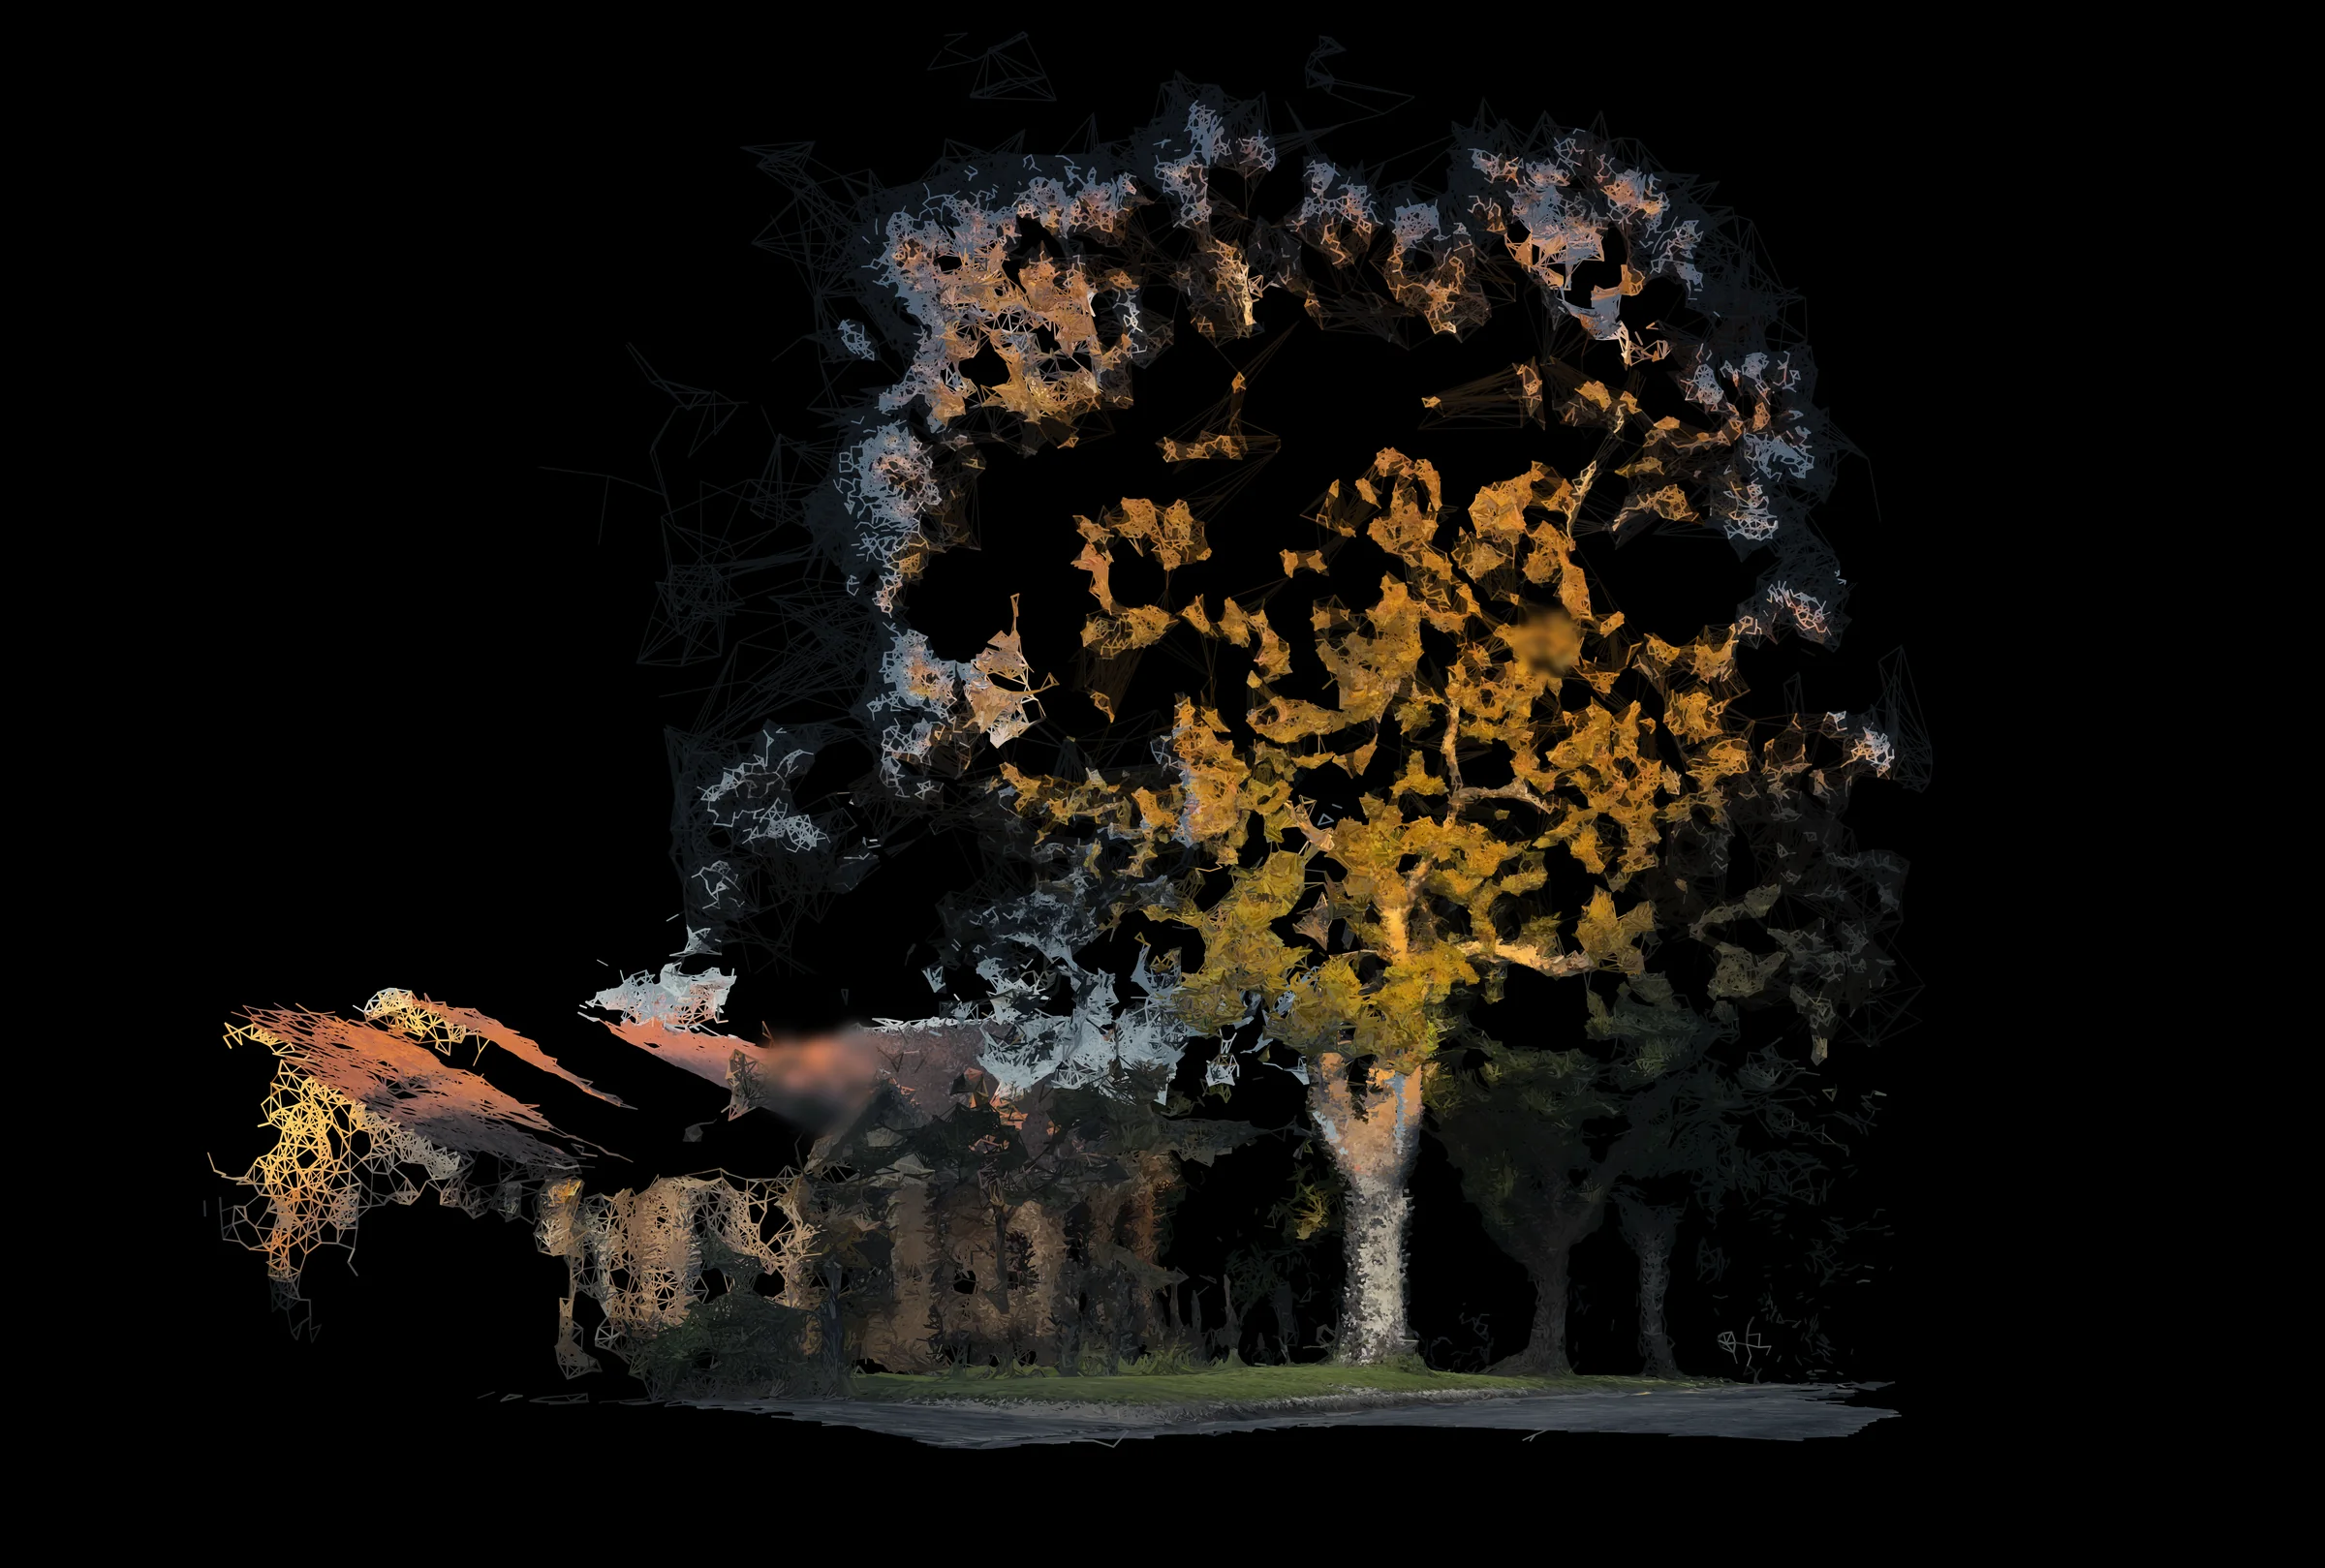
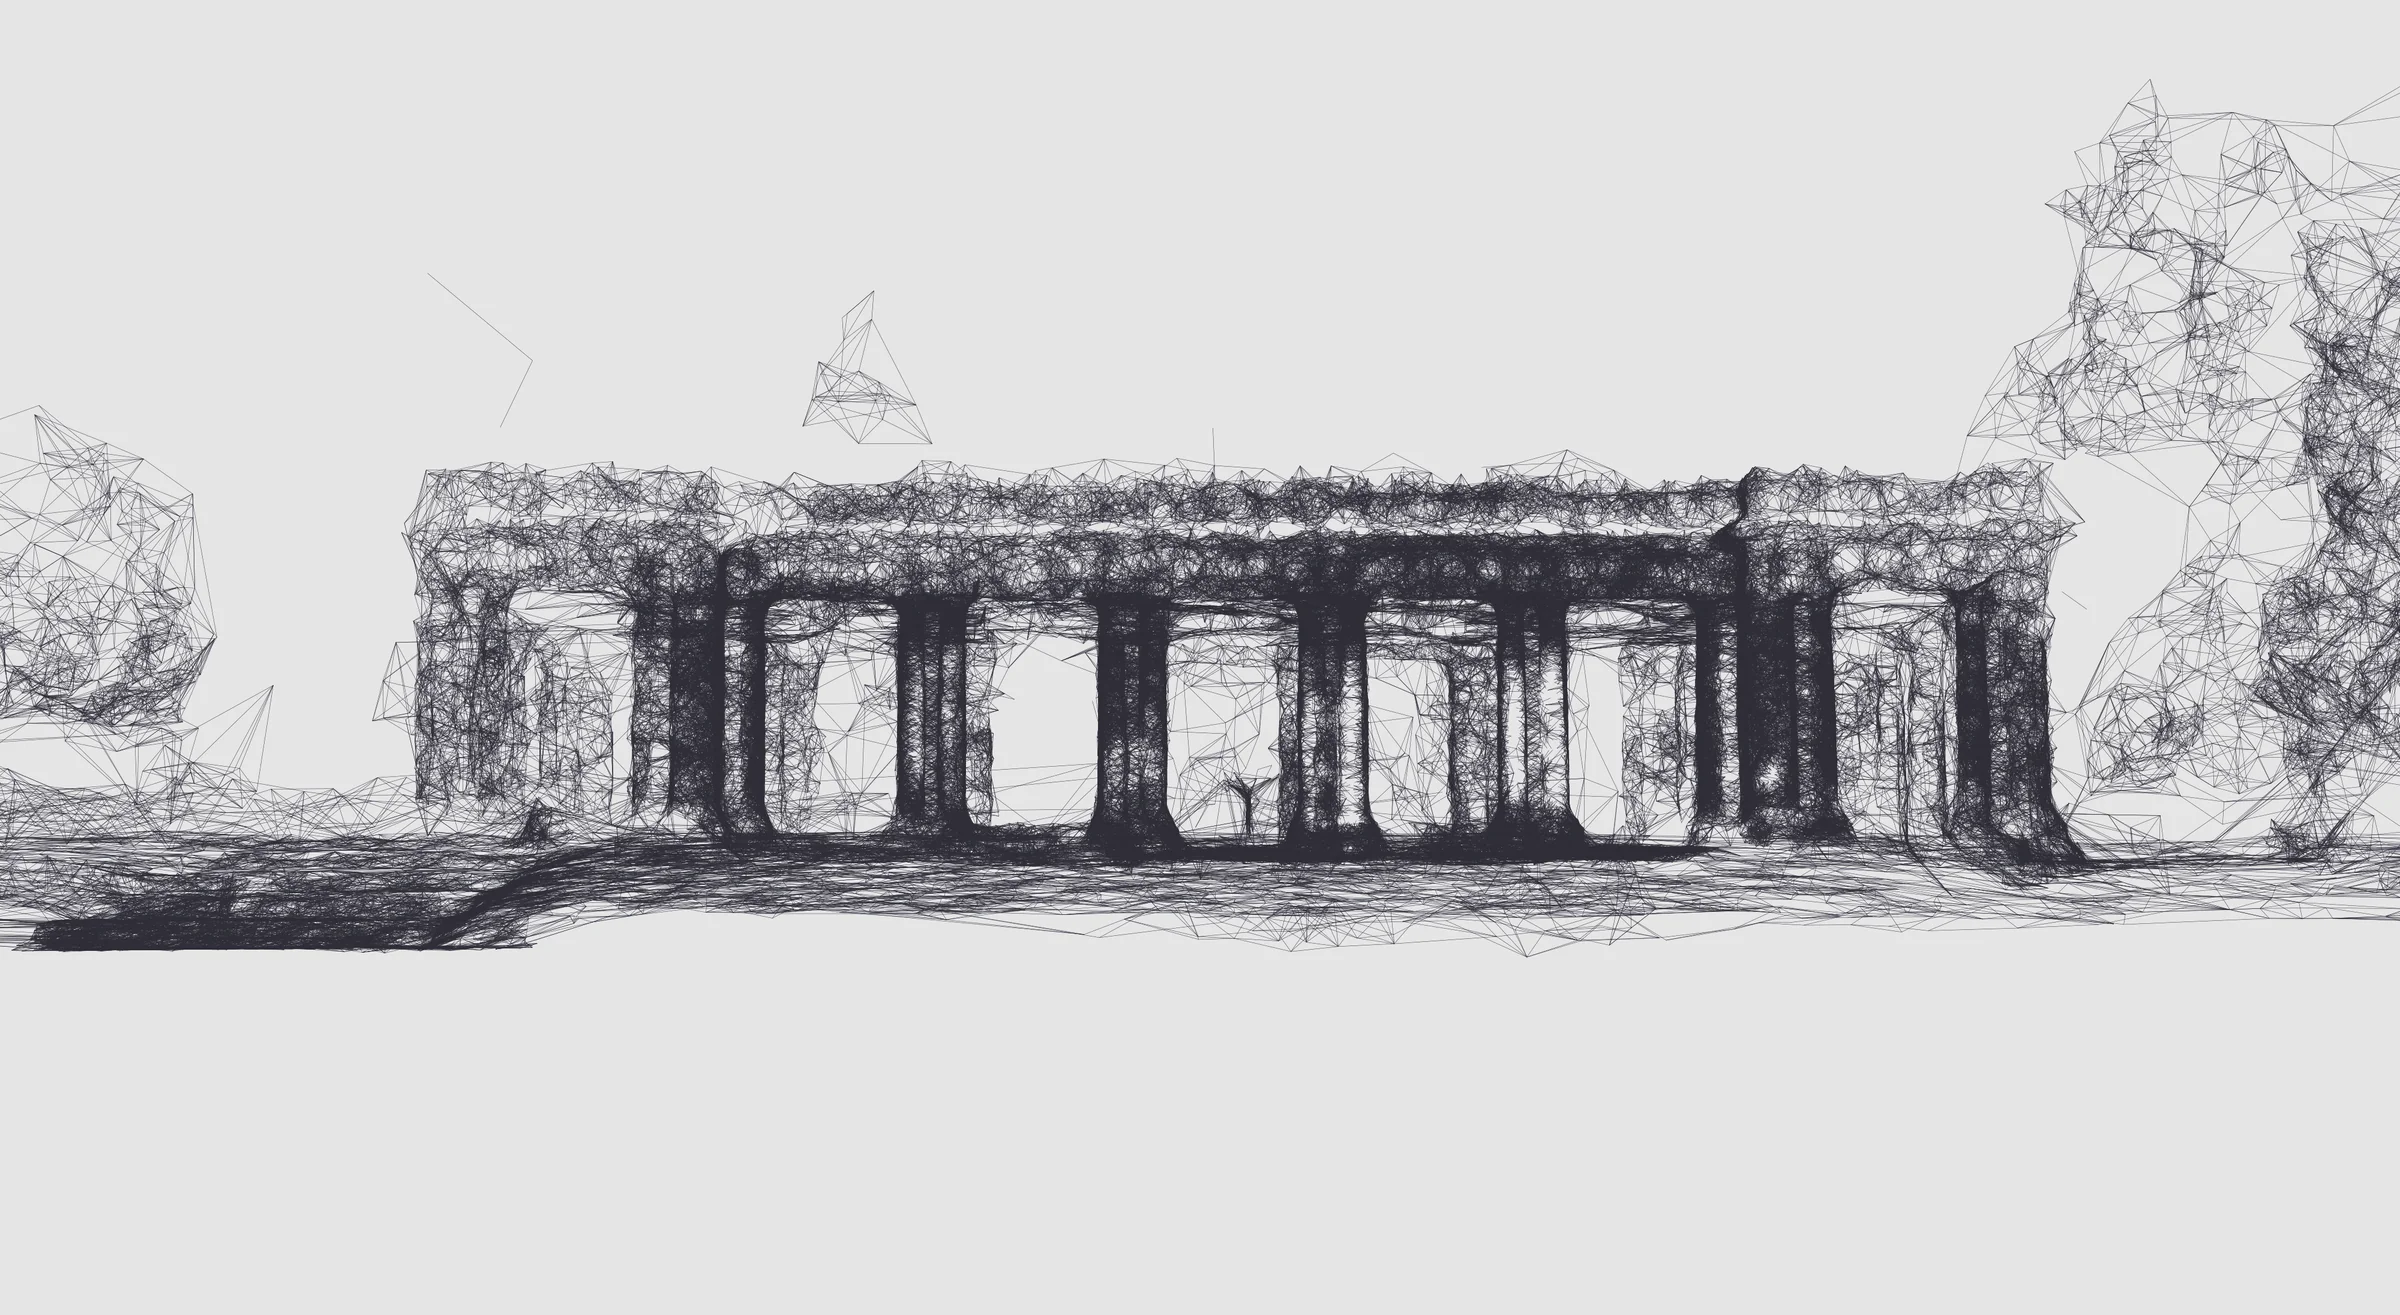
Full Workflow
- Take about 50-300 photos of a scene, or take a video and split into frames. Avoid blurring the photos, look for dynamic lighting conditions (sun and shadow).
- Download COLMAP 4.x, use the cuda version if you have a GPU. I'm using a command line interface in VSCode. COLMAP finds the camera positions.
- OpenMVS builds the dense point cloud.
- The output is a text file of 3D points saved as XYZ,RGB values.
- I'm using Pyside in Python to make a desktop window for editing. Pyvsita draws the points and line connections in the window editor.
- I export a few hi-res renderings (5,000px wide) from the editor, and combine them in Photoshop. This is typically the same view with different parameters for how the points are connected. I blend them with different opacities, and sometimes filter out all but a few color families.
- Each point identifies n number of of their nearest neighbors, within a certain minimum and maximum distance. The connecting lines are the same color as one of their endpoints. For most scenes, I target about 200,000 points.